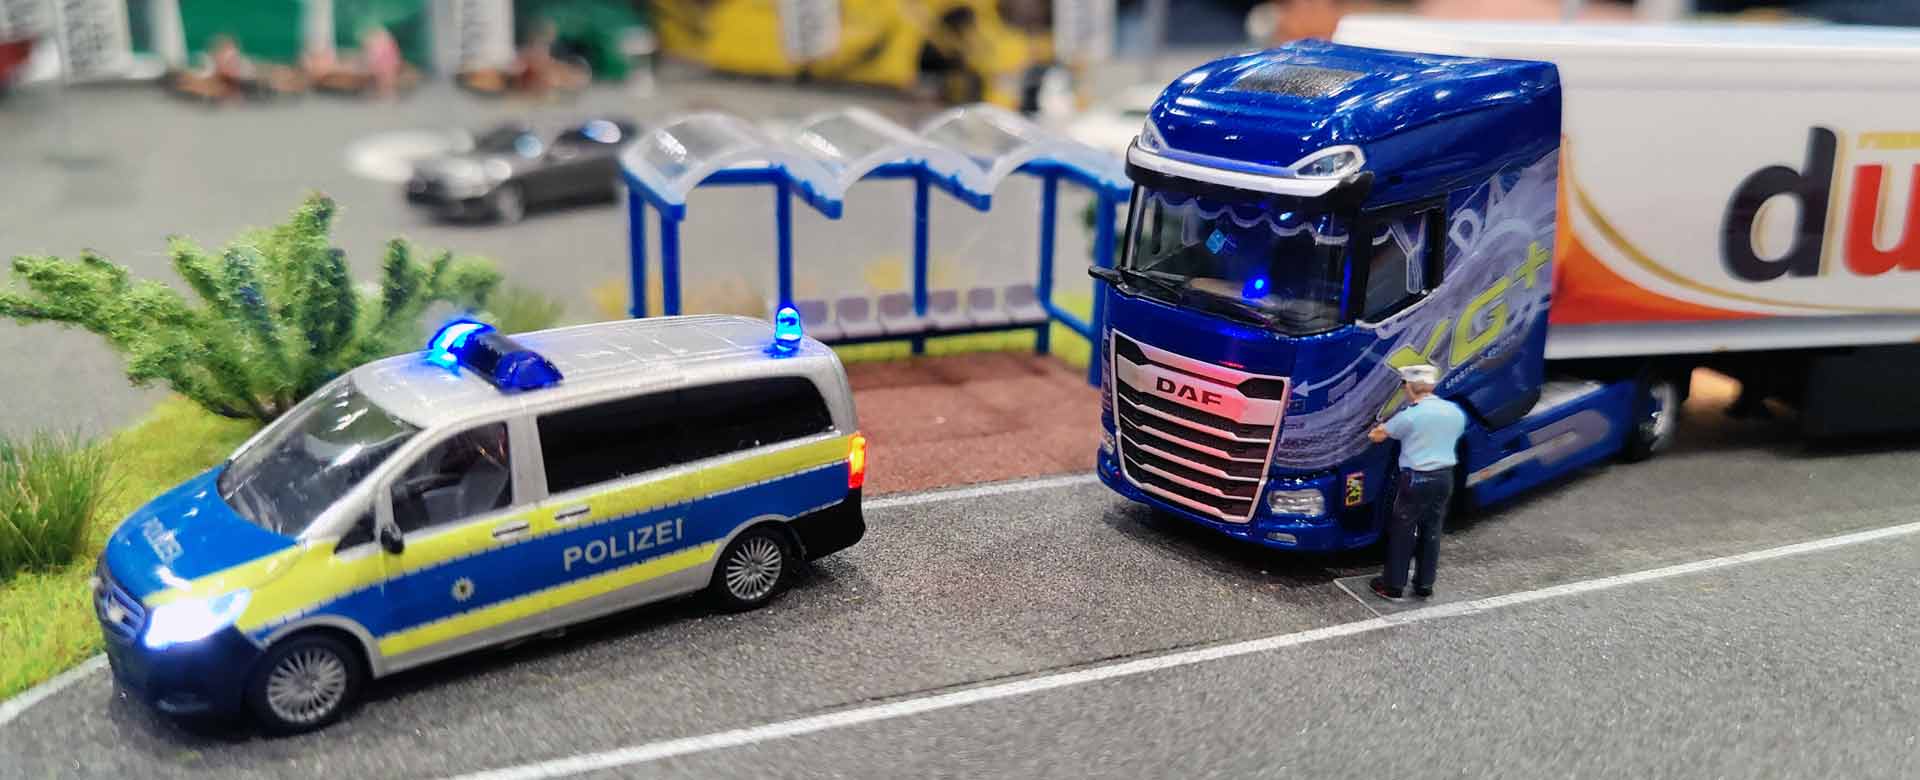
A Show Truck much to your Liking
In the first part of this small series, the DAF XG+ was successfully disassembled step by step into its individual parts. With a little patience and by following the proper sequence, any hobbyist should be able to dismantle the model without breaking the pins that make Herpa's successful plug-in construction method possible. In this sequel, less experienced hobbyists are shown how to start converting and customizing Herpa models, and how much can be done with a basic model. How about a fictitious show truck?
Even before starting, it’s good to think about the way or, perhaps, the destination. Models are often created based on specific examples. The attention to detail goes all the way from the original license plate to the eccentric "I love pets" sticker that the driver had once stuck on the passenger door. There are no limits to the attention to detail. But it can be a trap for beginners to get too attached to a prototype, even if hate is to be expected when a model is not faithful enough to that original. Indeed, projects without specific prototypes silence the so-called rivet counters most elegantly. My taste, my model, my rendition! End of story.
What is it to be?
The new DAF model series will be presented at the 2022 IAA in the attractive Tuscan Yellow, but without the striking foil designs that other manufacturers apply to a new model series. Moreover, an internet search will only turn up rather sobering results, given the remarkable absence of motifs. There seem to be no appealing originals at all! However, an image search does bring up a design in the form of virtual images in all the colors of the rainbow: lots of waves, lines and arrows, with the historic DAF brand logo combined with the oversized XG+ lettering.
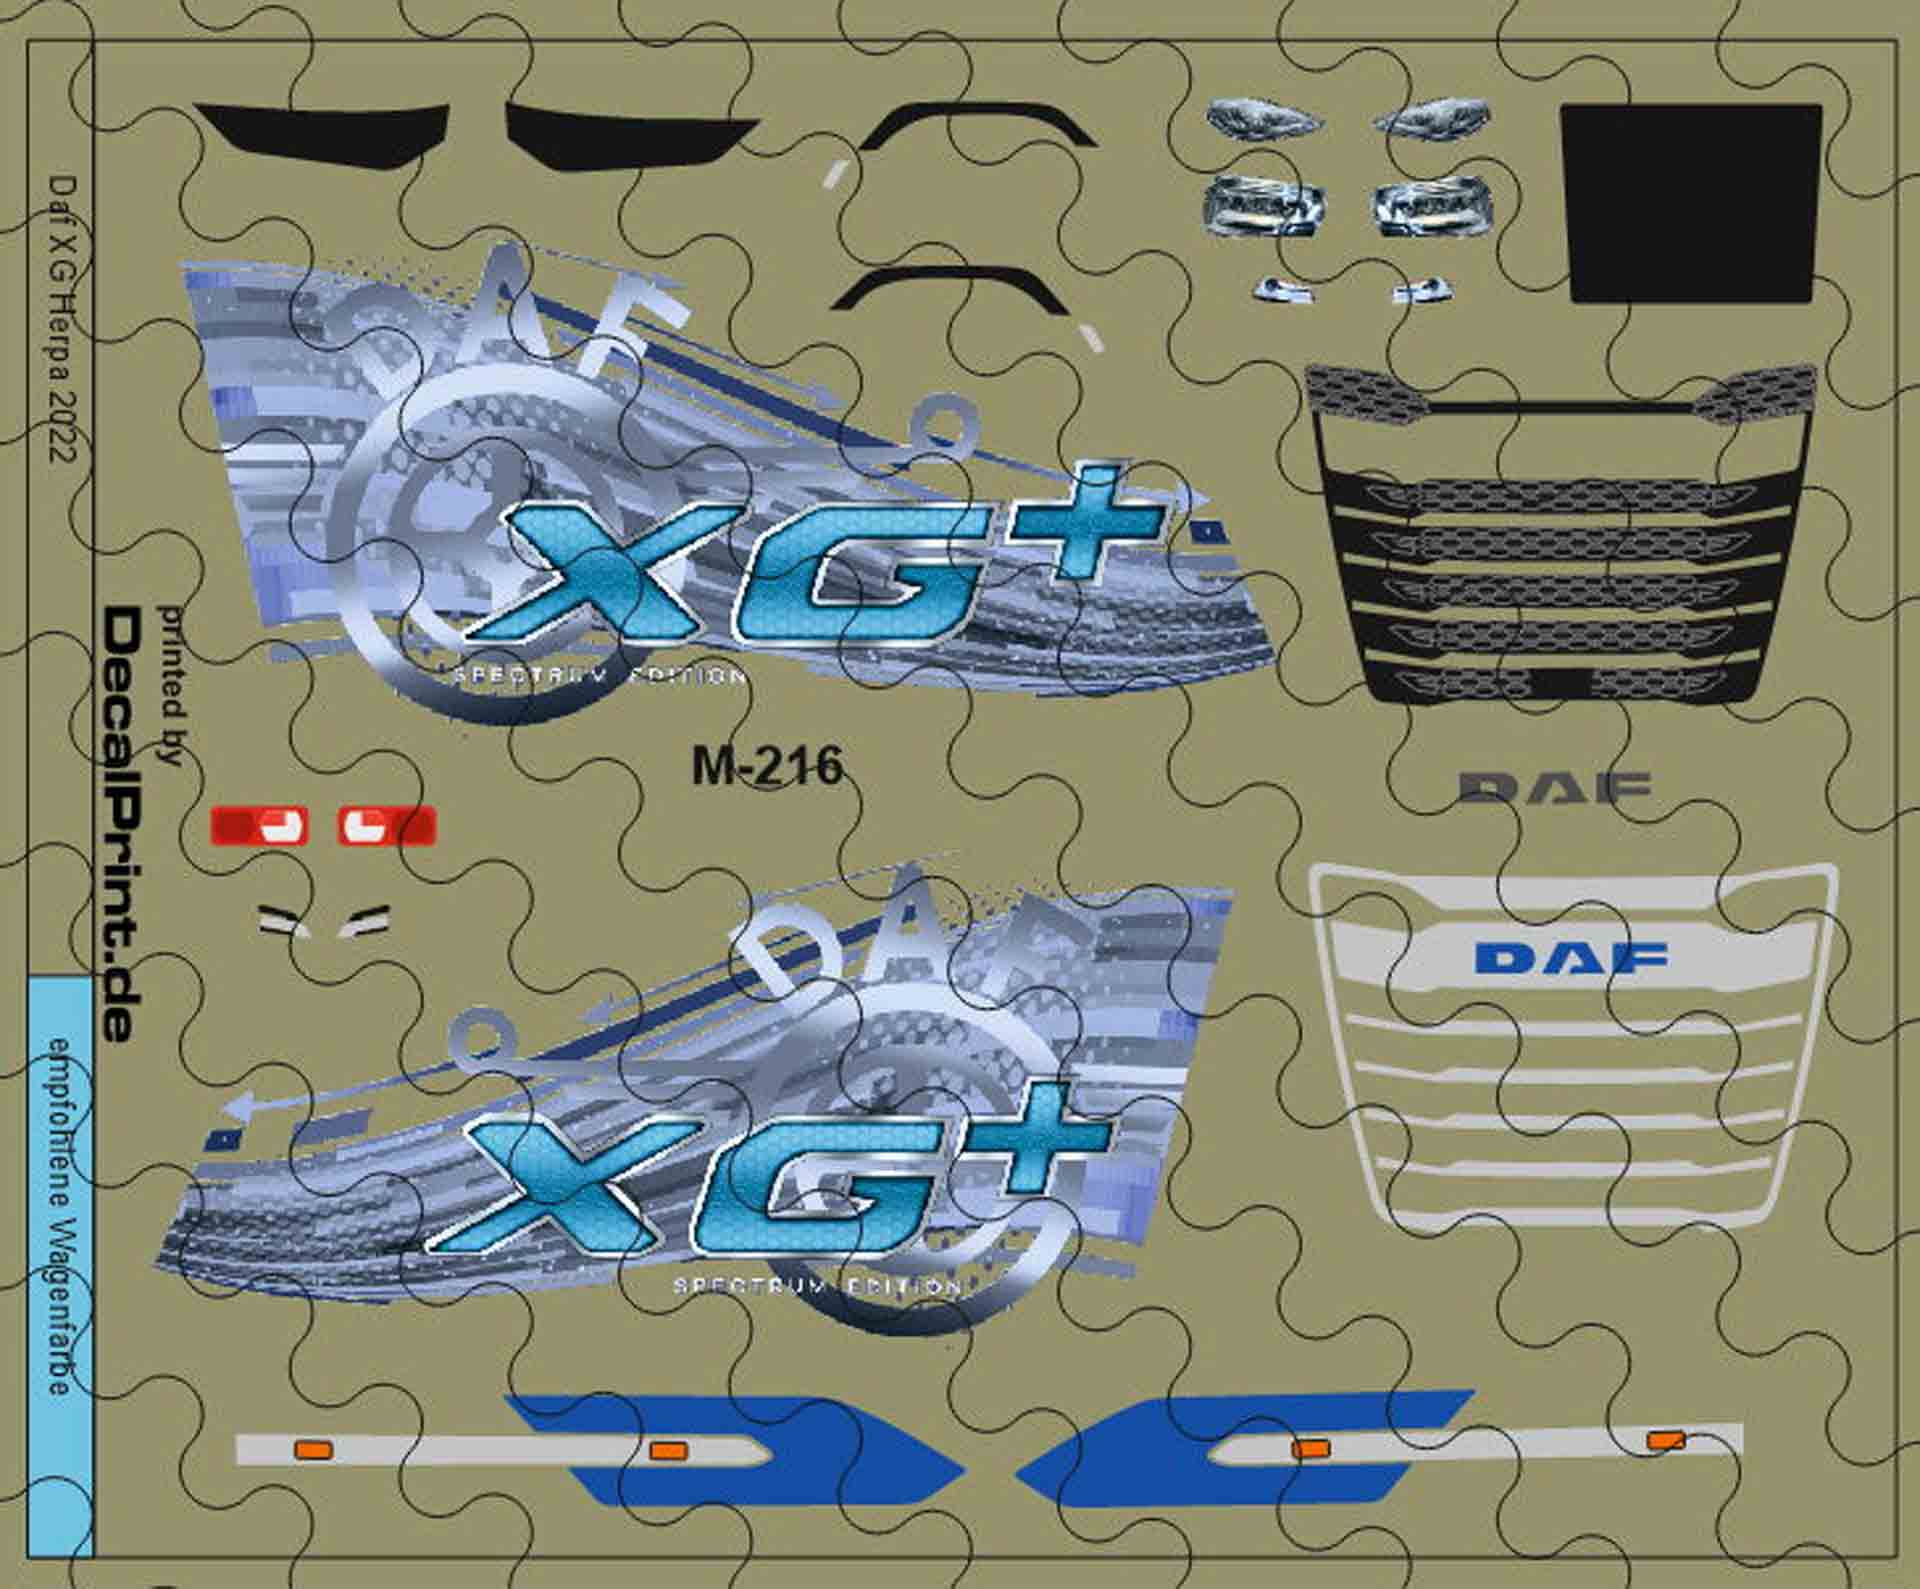
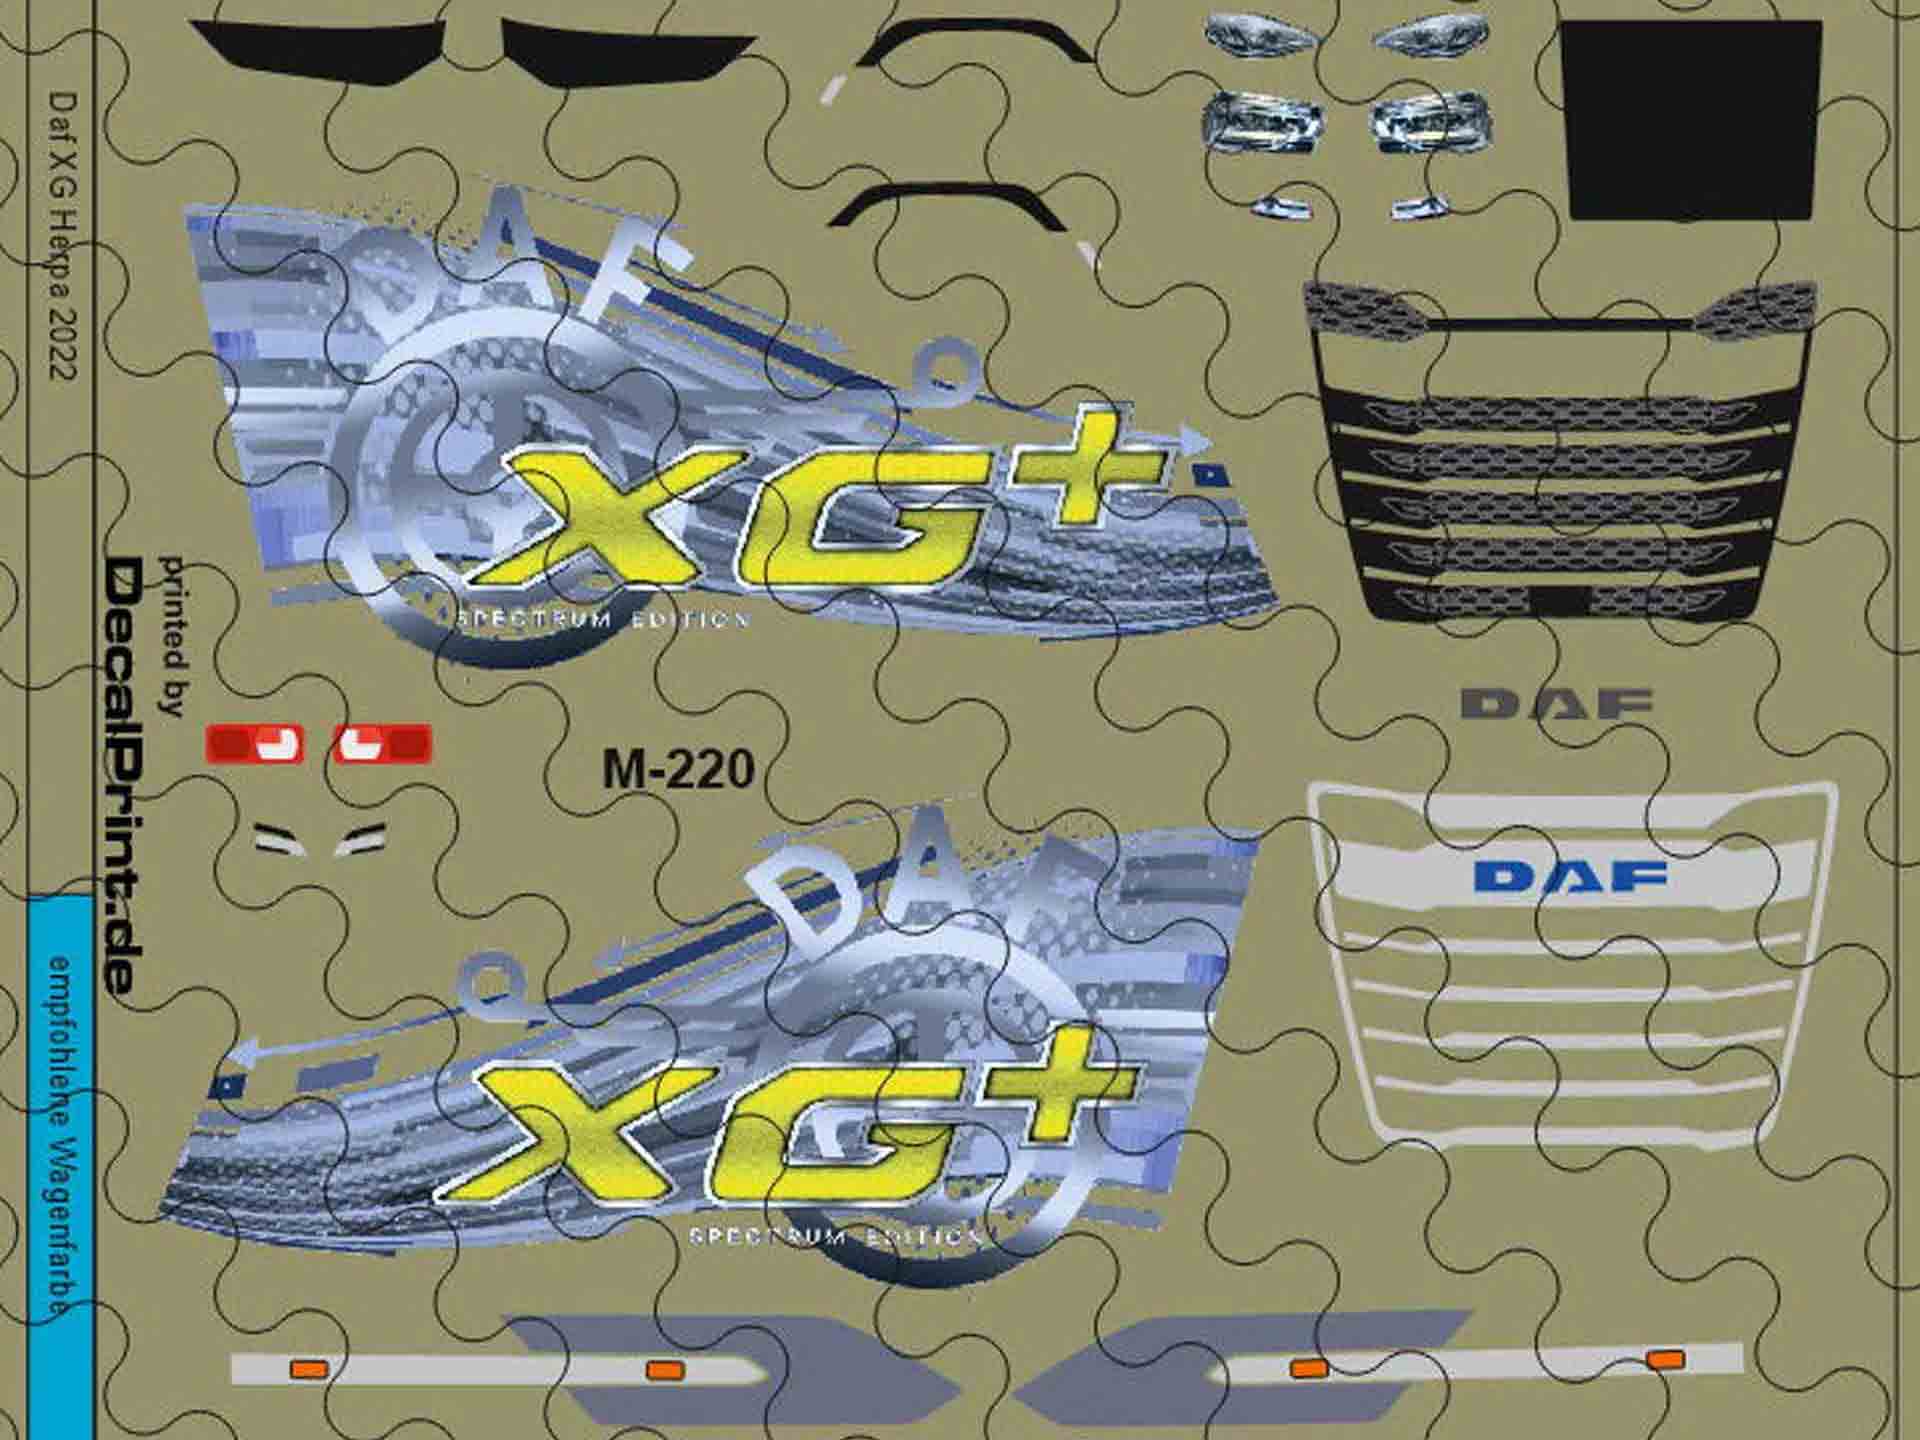
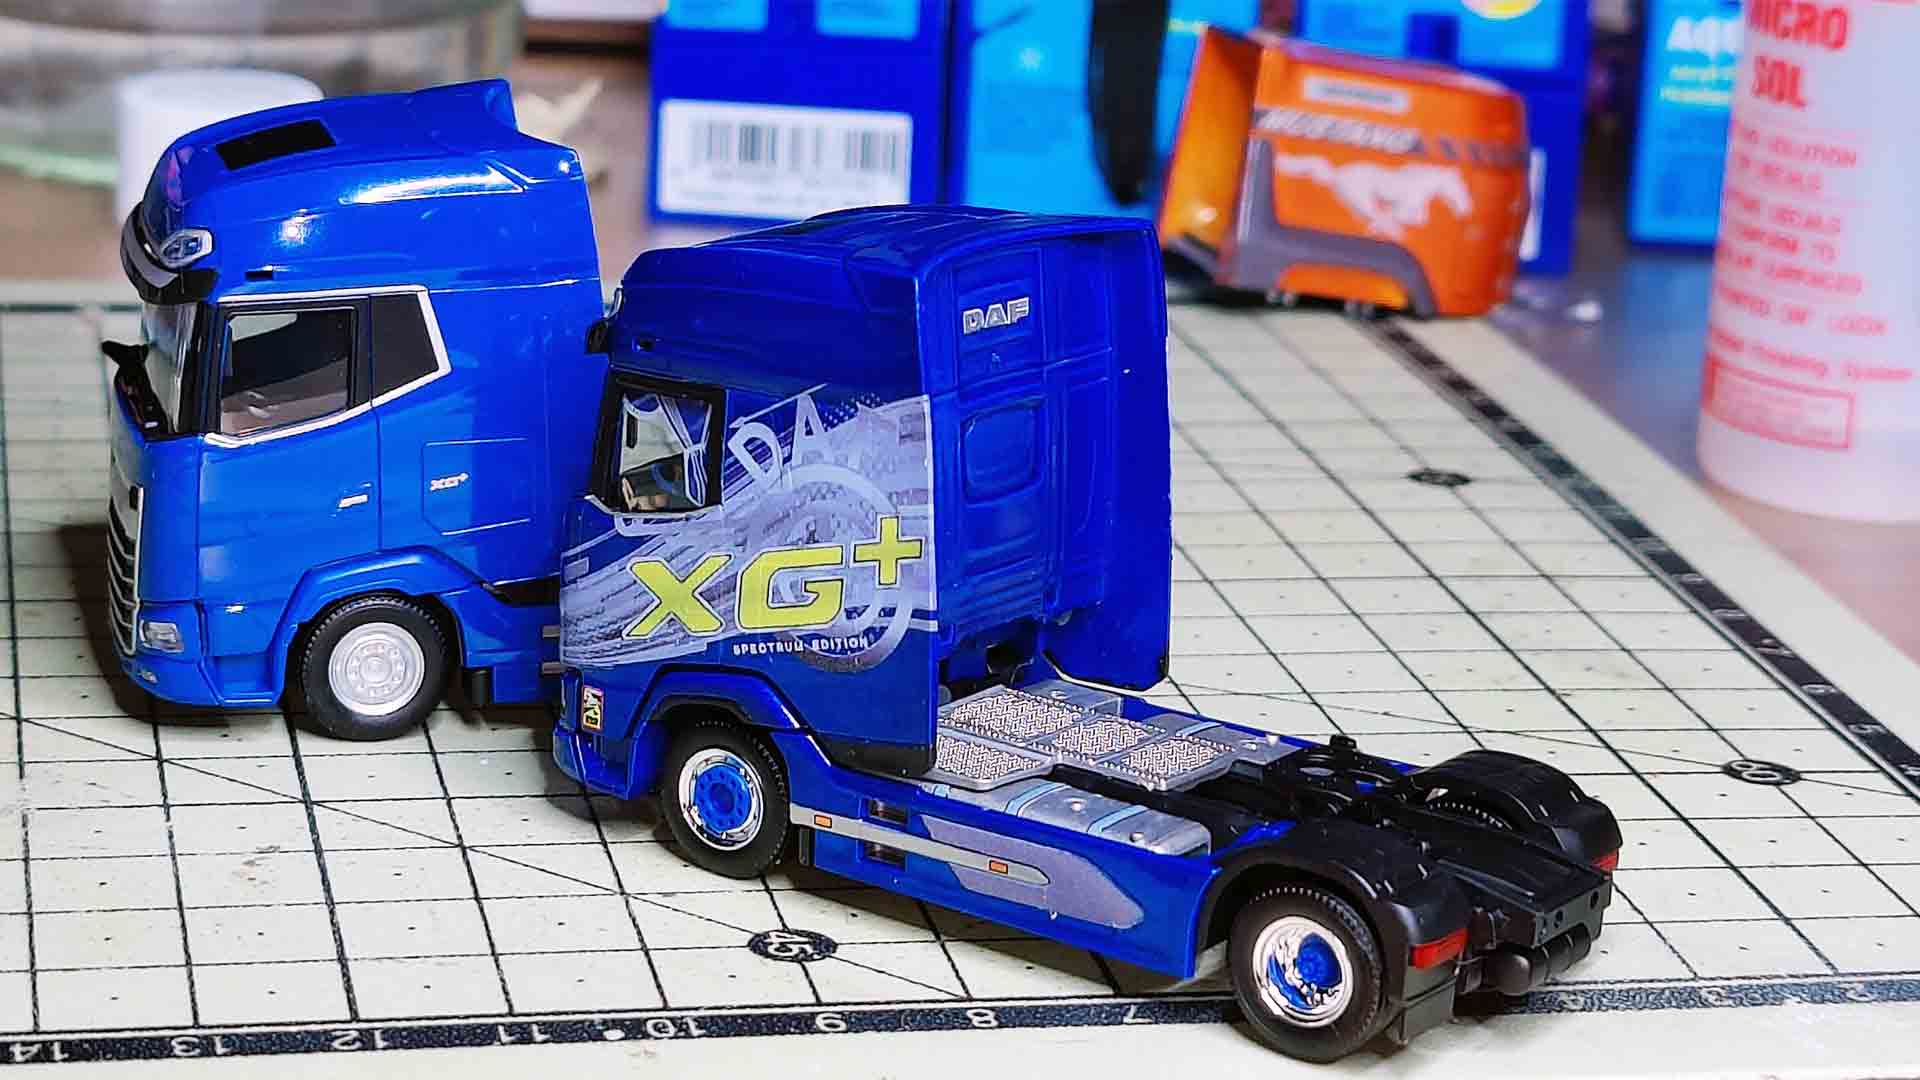
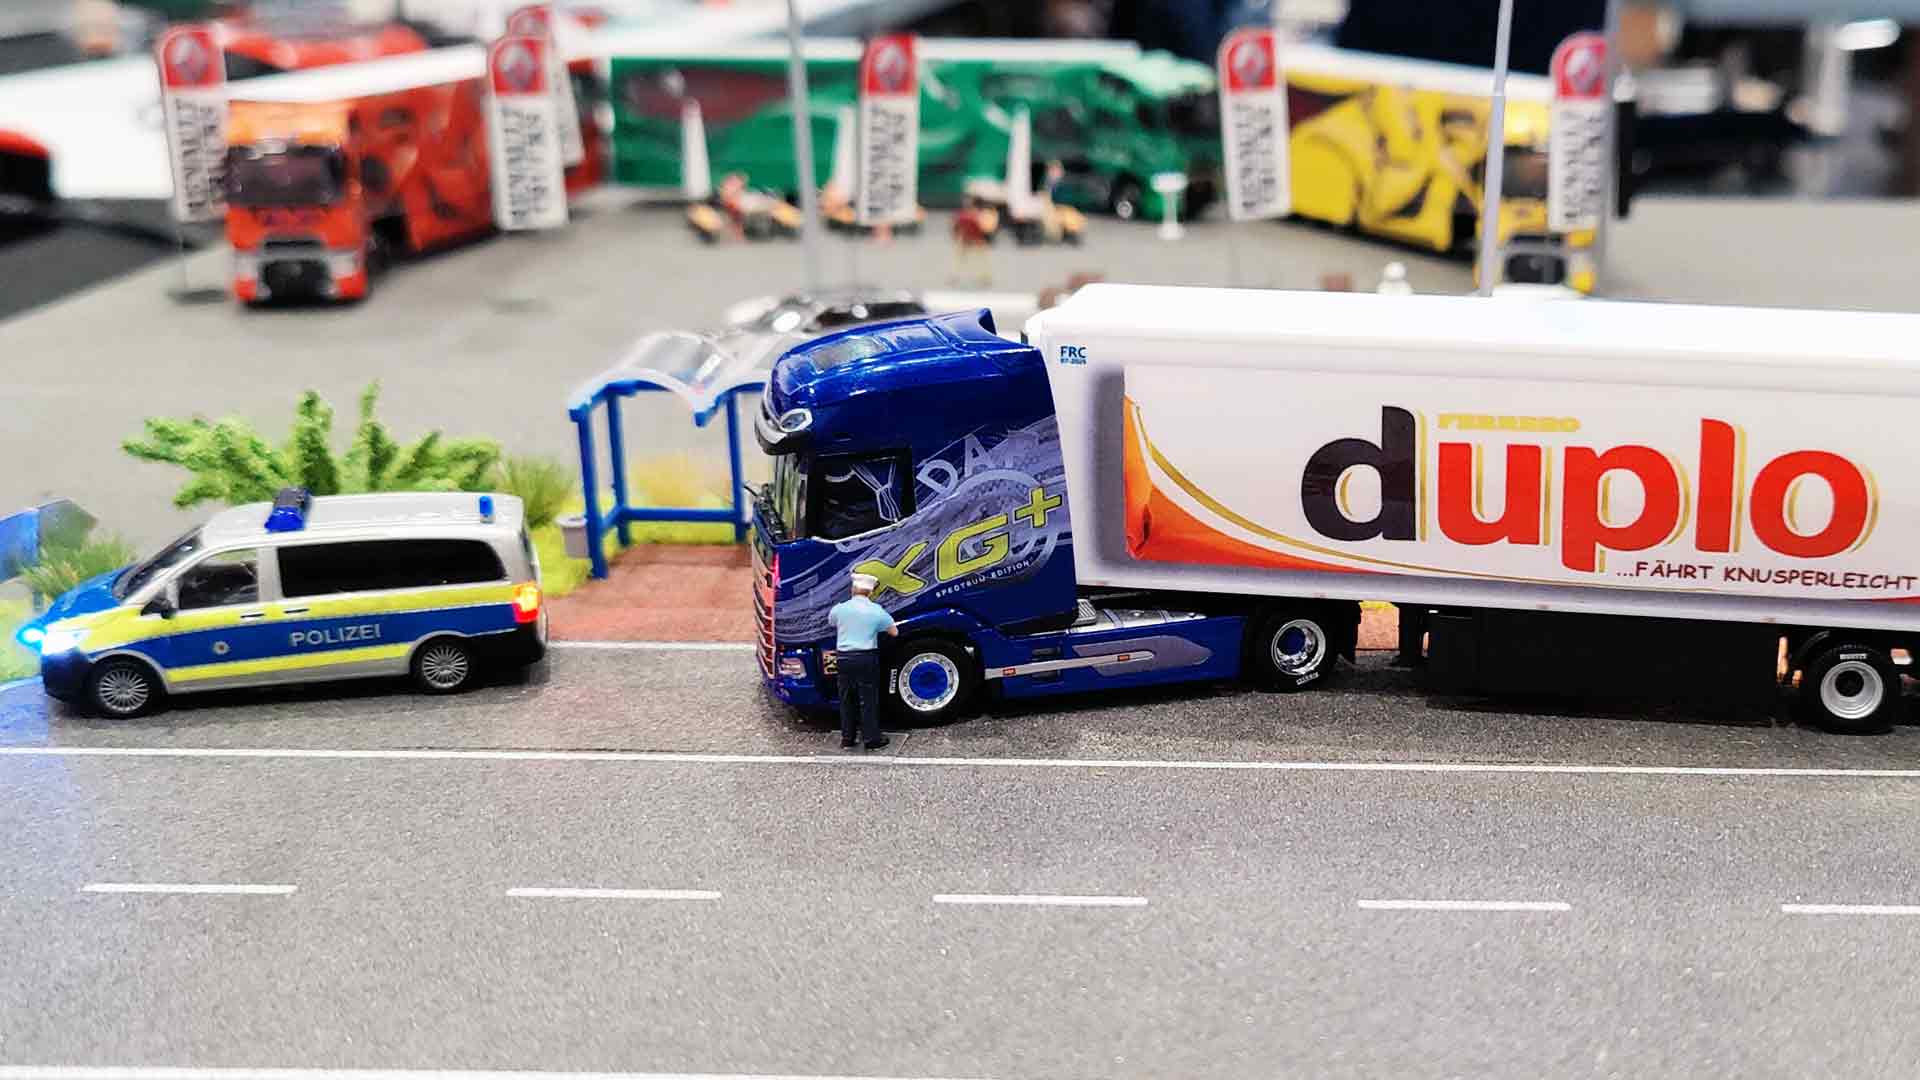
It turns out that this harmonious design was created solely for the Euro Truck Simulator, a popular computer game. It is not to be found on the road - but it can be realized in 1:87! Carsten Glaubitz, famous at Decalprint.de as a supplier of accessories for the tuning of models, has taken up the motif and created corresponding decal sheets in many color variants, which contain further accessories for a tractor unit in addition to the main motif.
Shampoo, drying und sticking too, please!
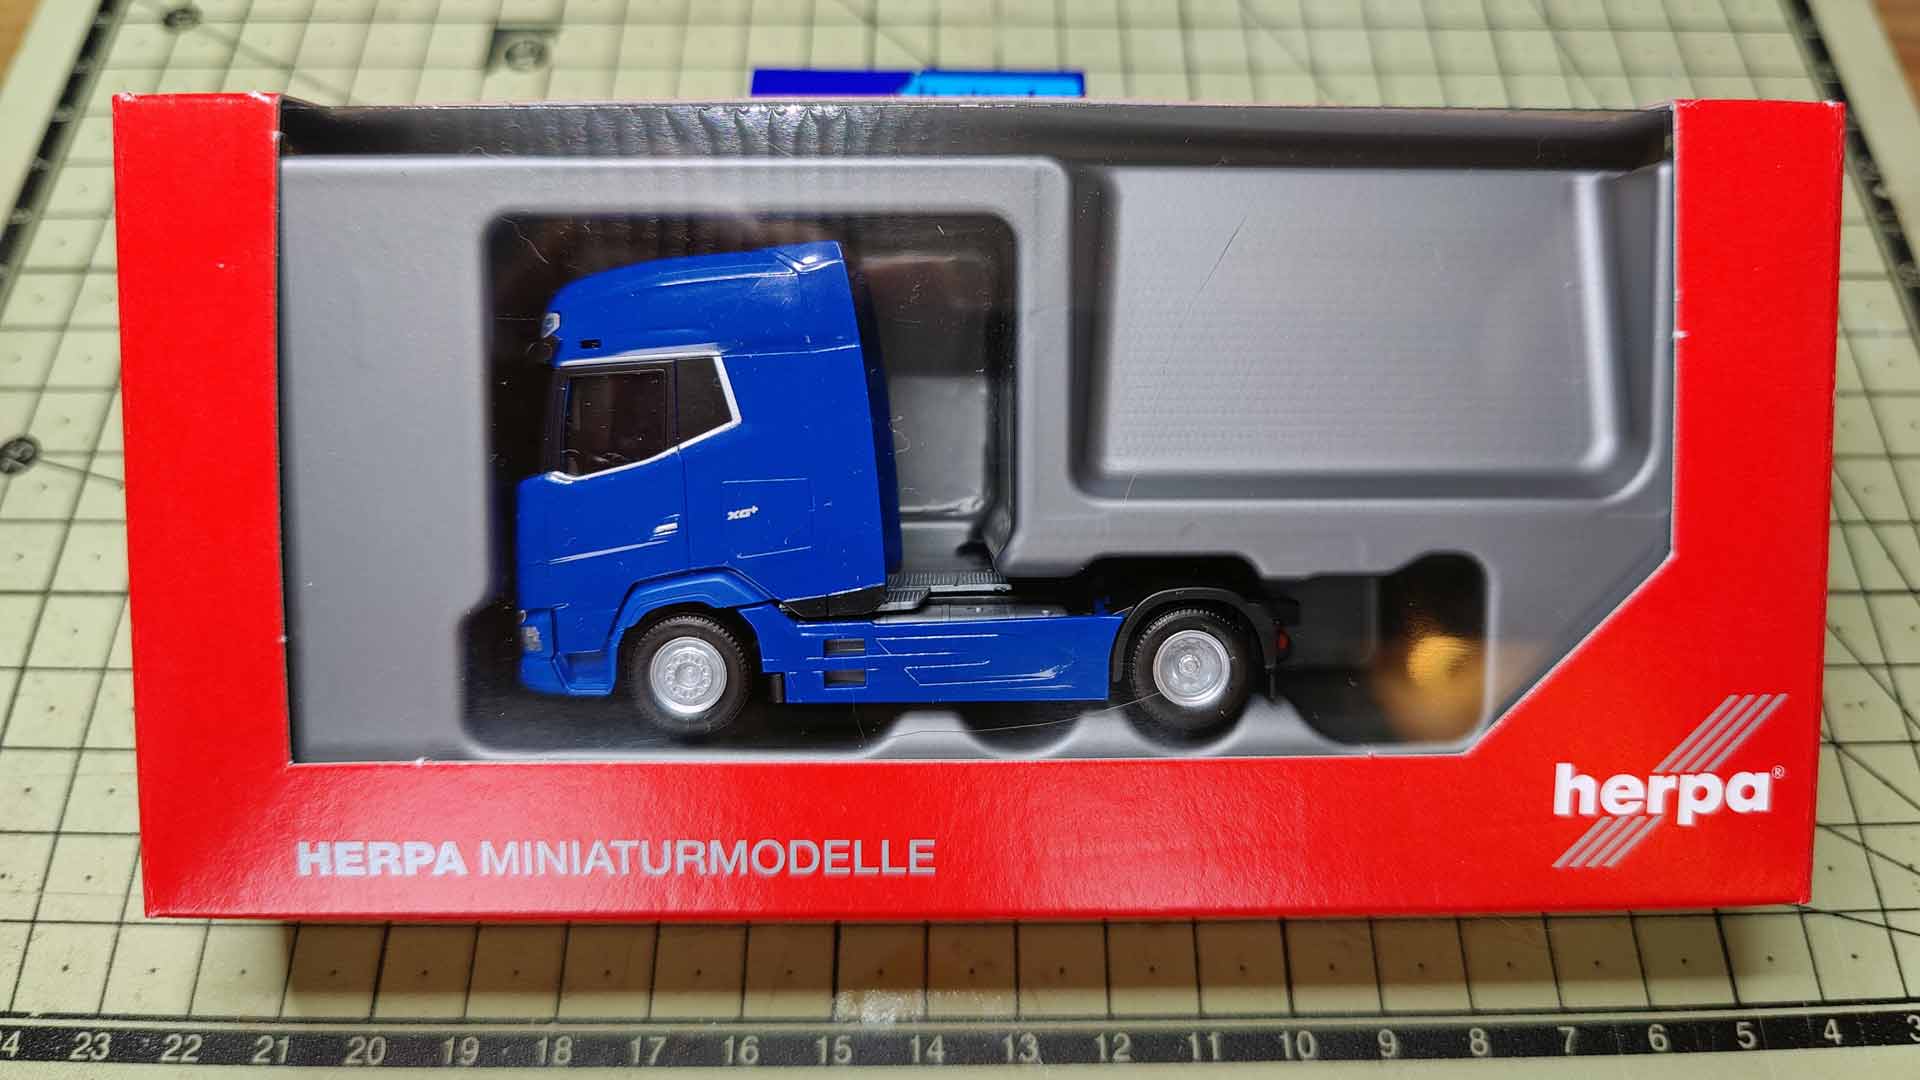
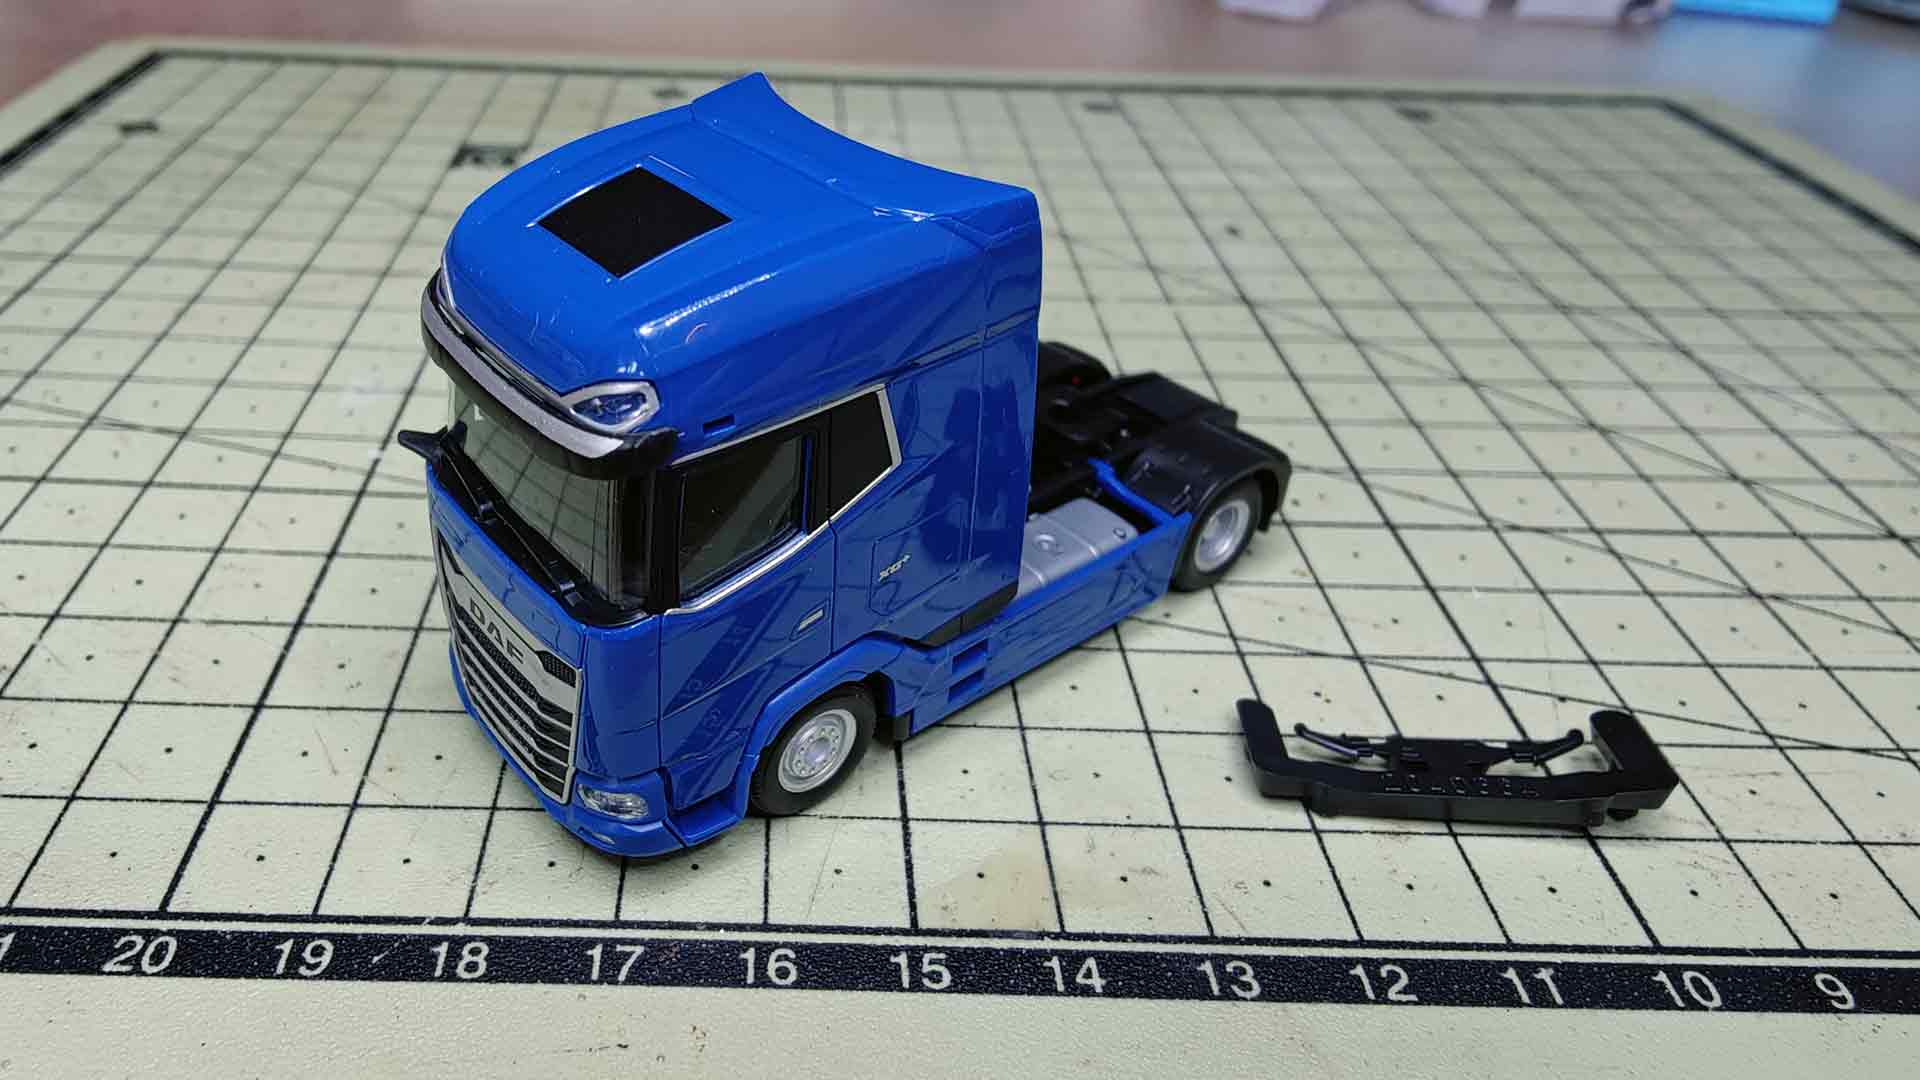
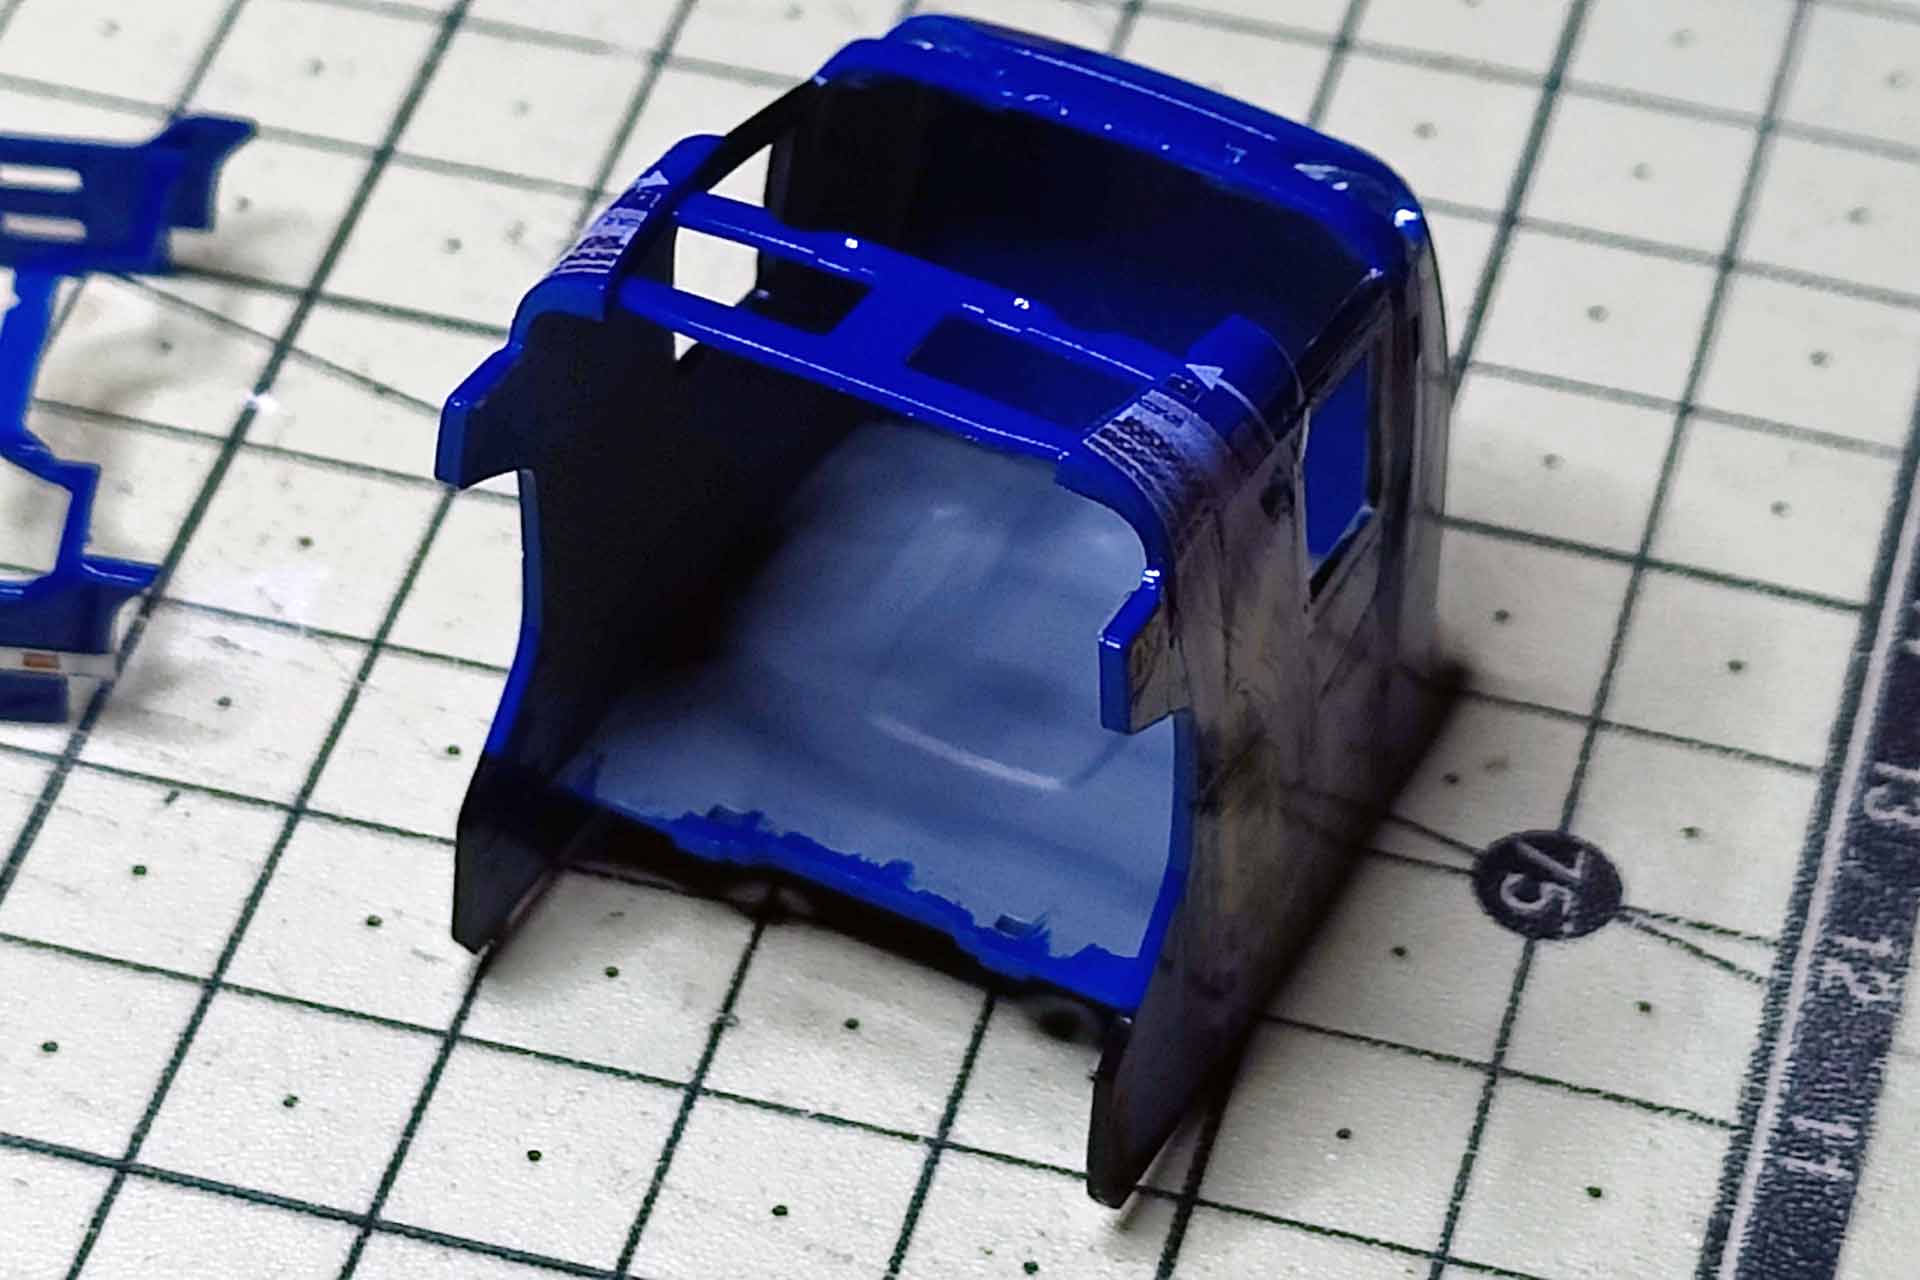
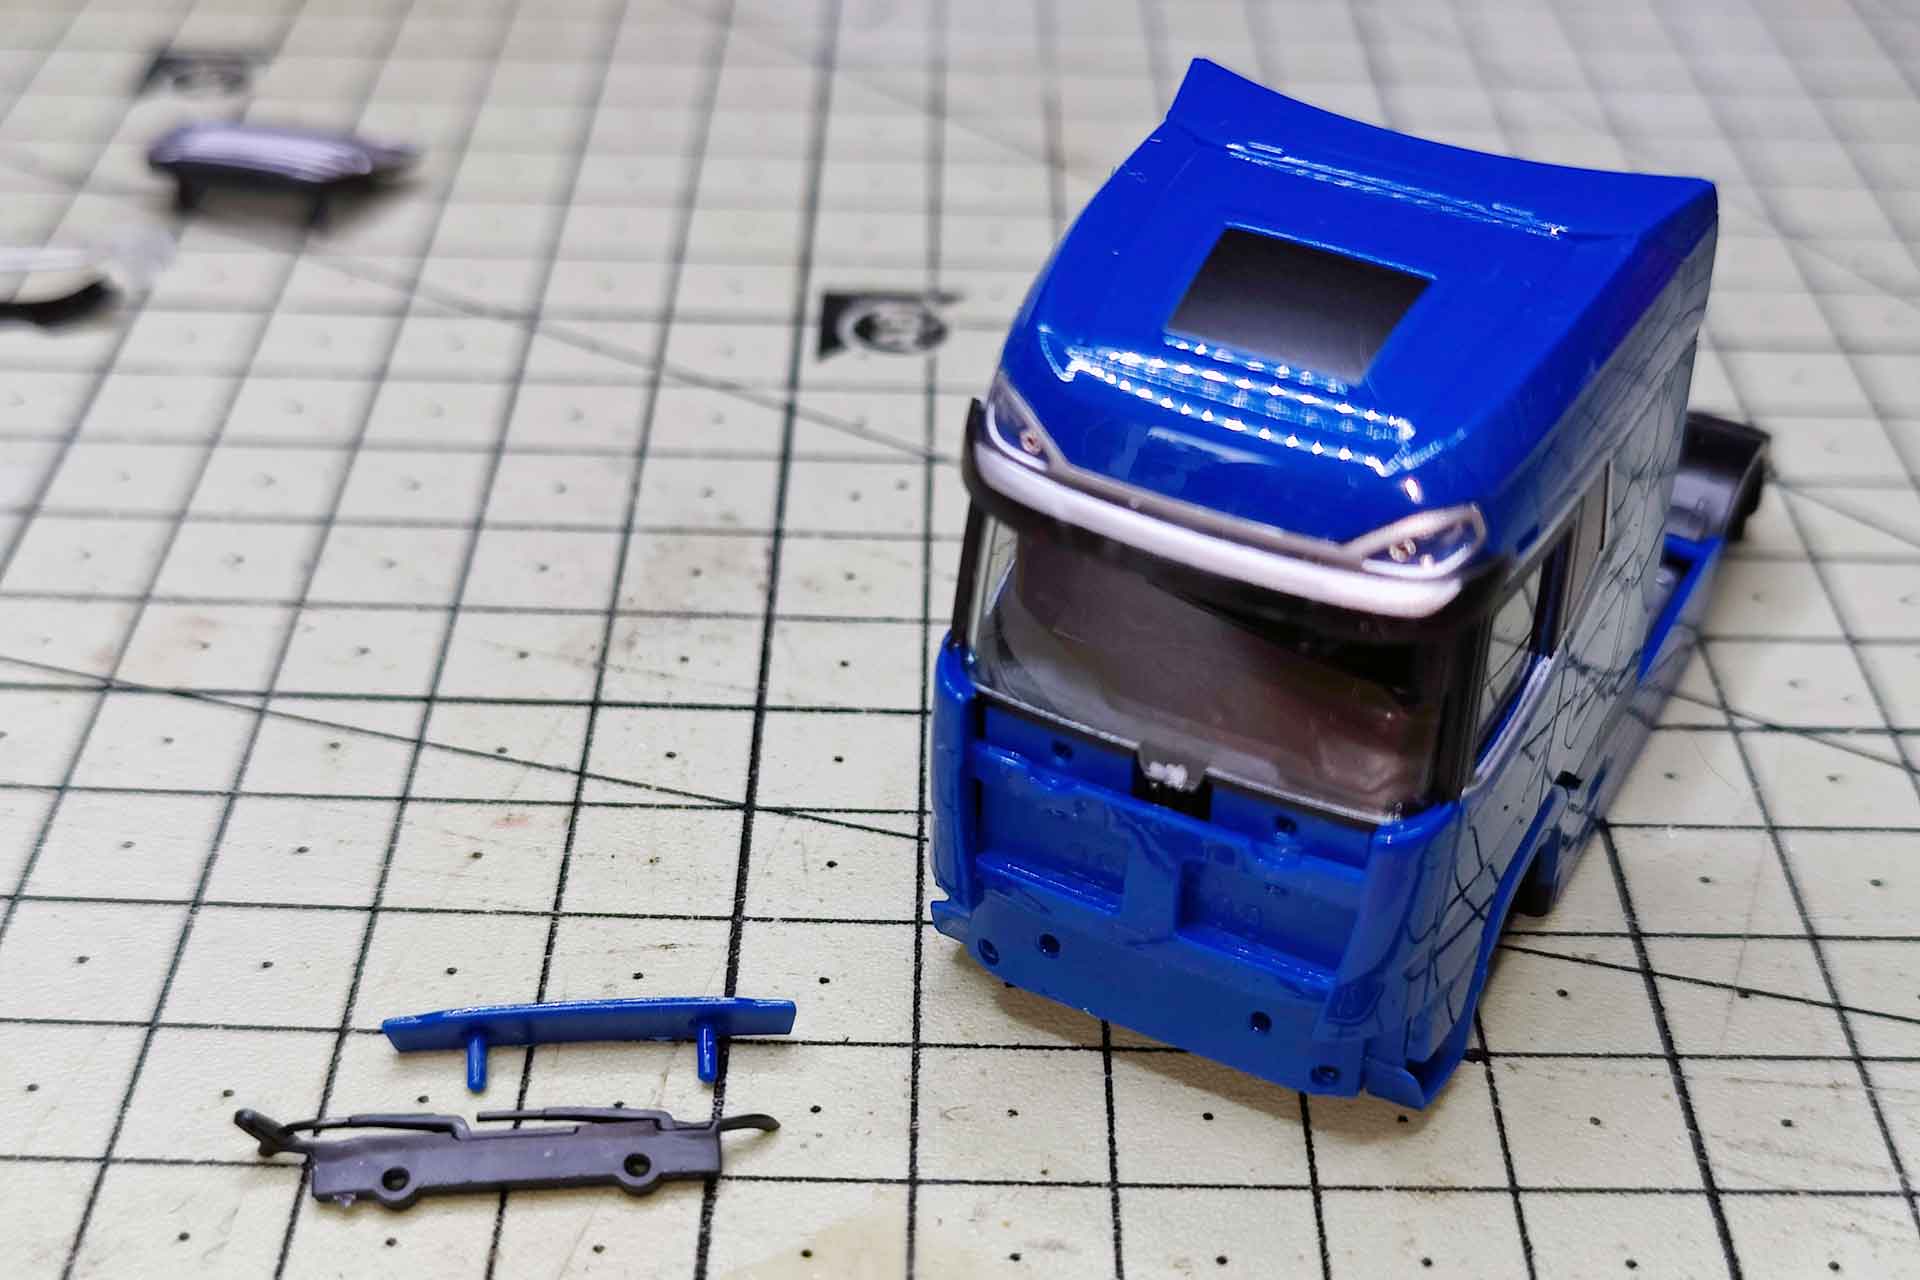
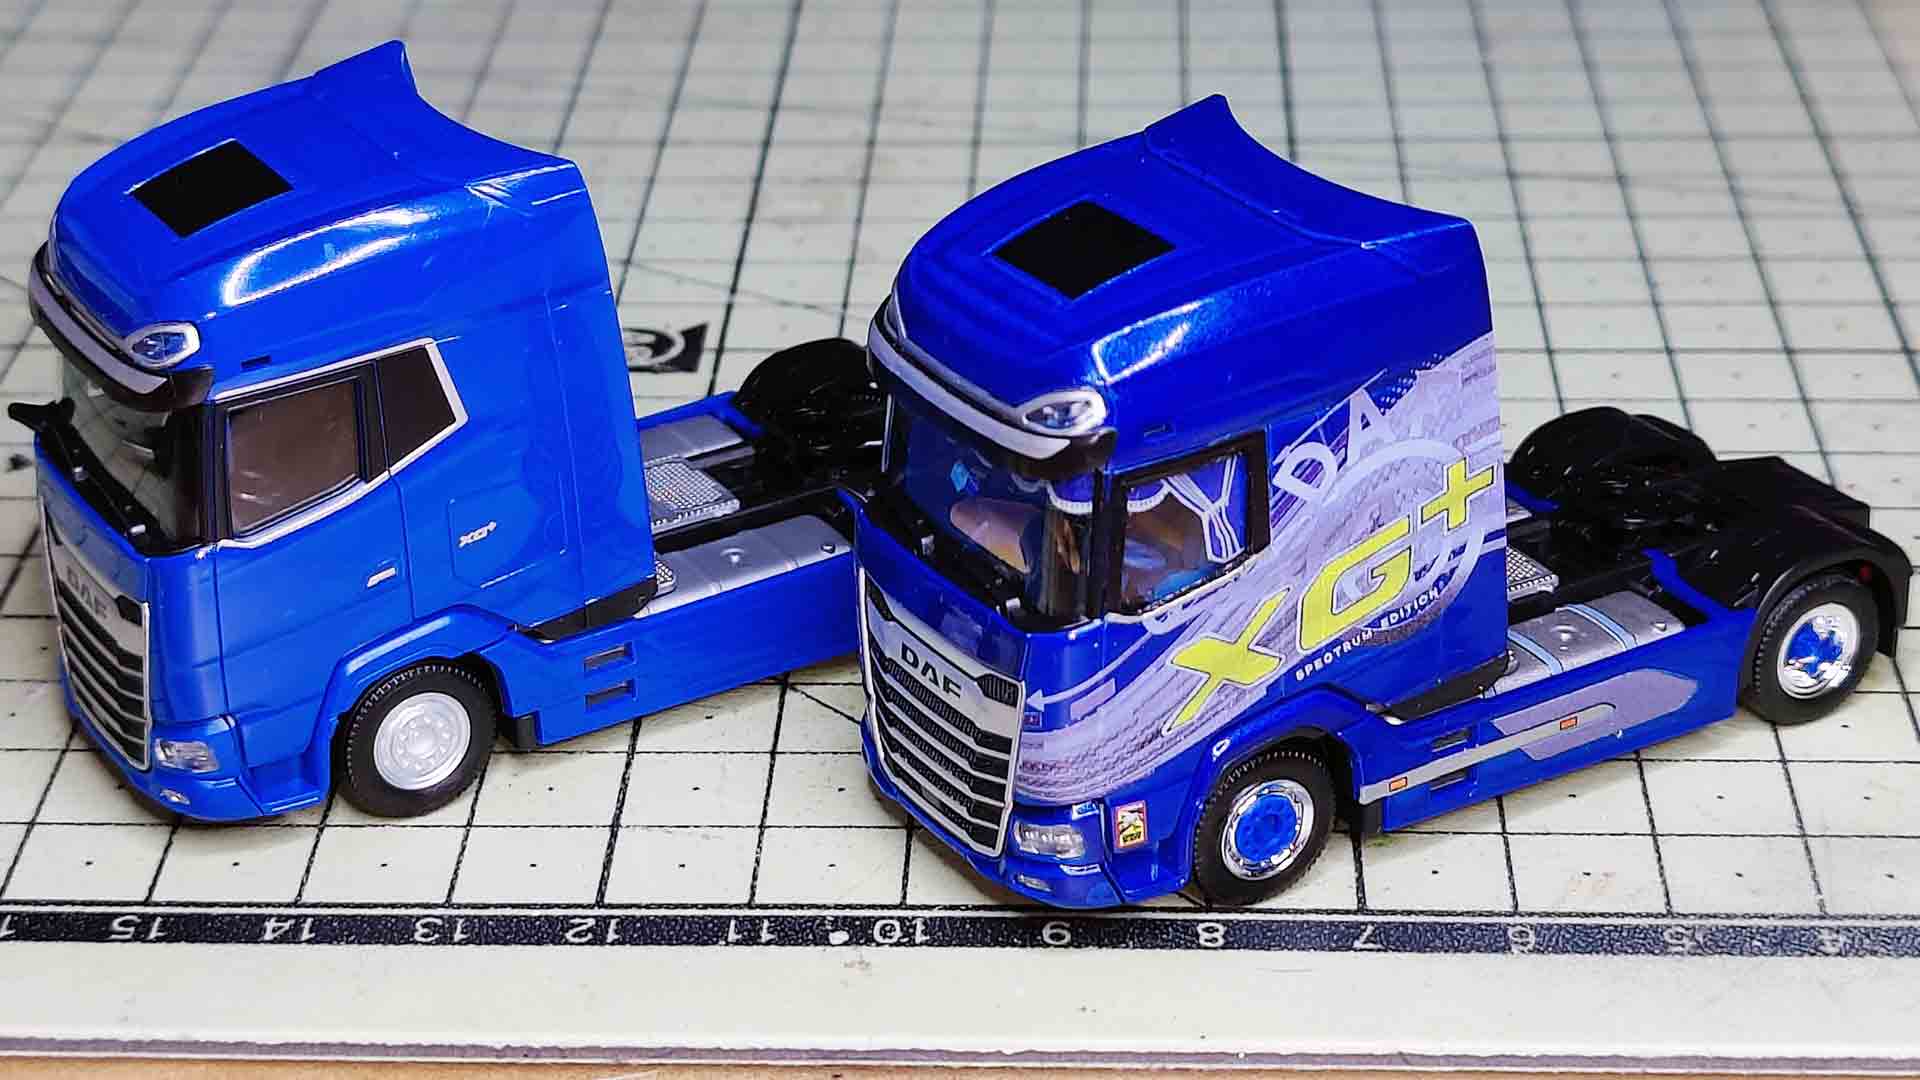
Herpa delivers the gentian blue basic model with extensive printing. Chrome strips, door handles, lettering and black elements breathe life into the model. What a shame! All this has to be removed so that the imprints do not shine through the new motif. Using lots of cotton buds, lightly soaked in DLE90, all the prints are rubbed off and removed. The liquid removes the paint and also mattes the surface of the model. It is therefore advisable to use a large number of cotton buds and to proceed as selectively as possible to avoid unnecessarily attacking unprinted areas with the liquid. Once dissolved and washed away in plenty of liquid, paint particles are difficult to remove if they have settled into the joints of doors or other elements. It is therefore advisable to work small section by small section.
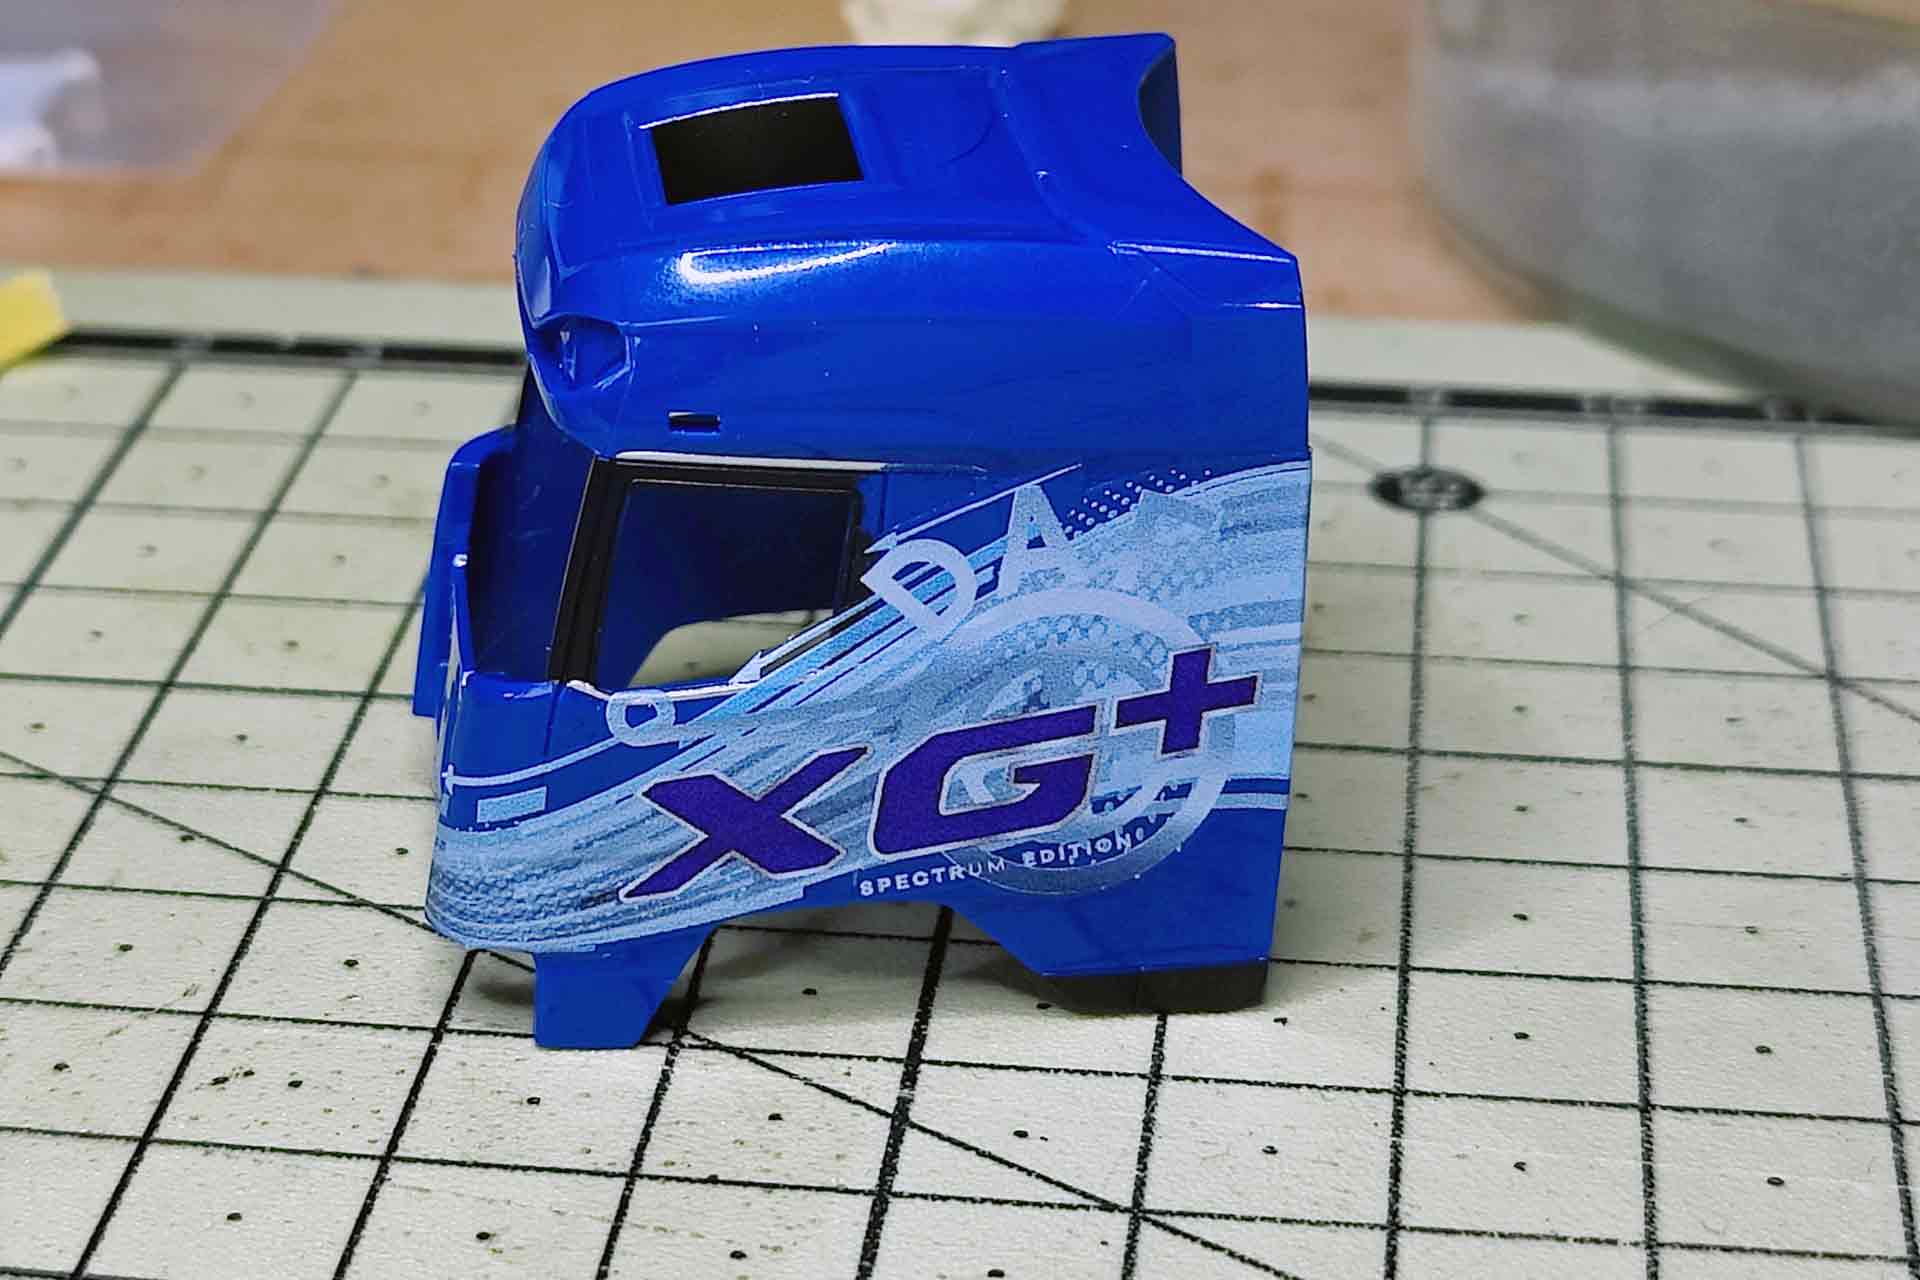
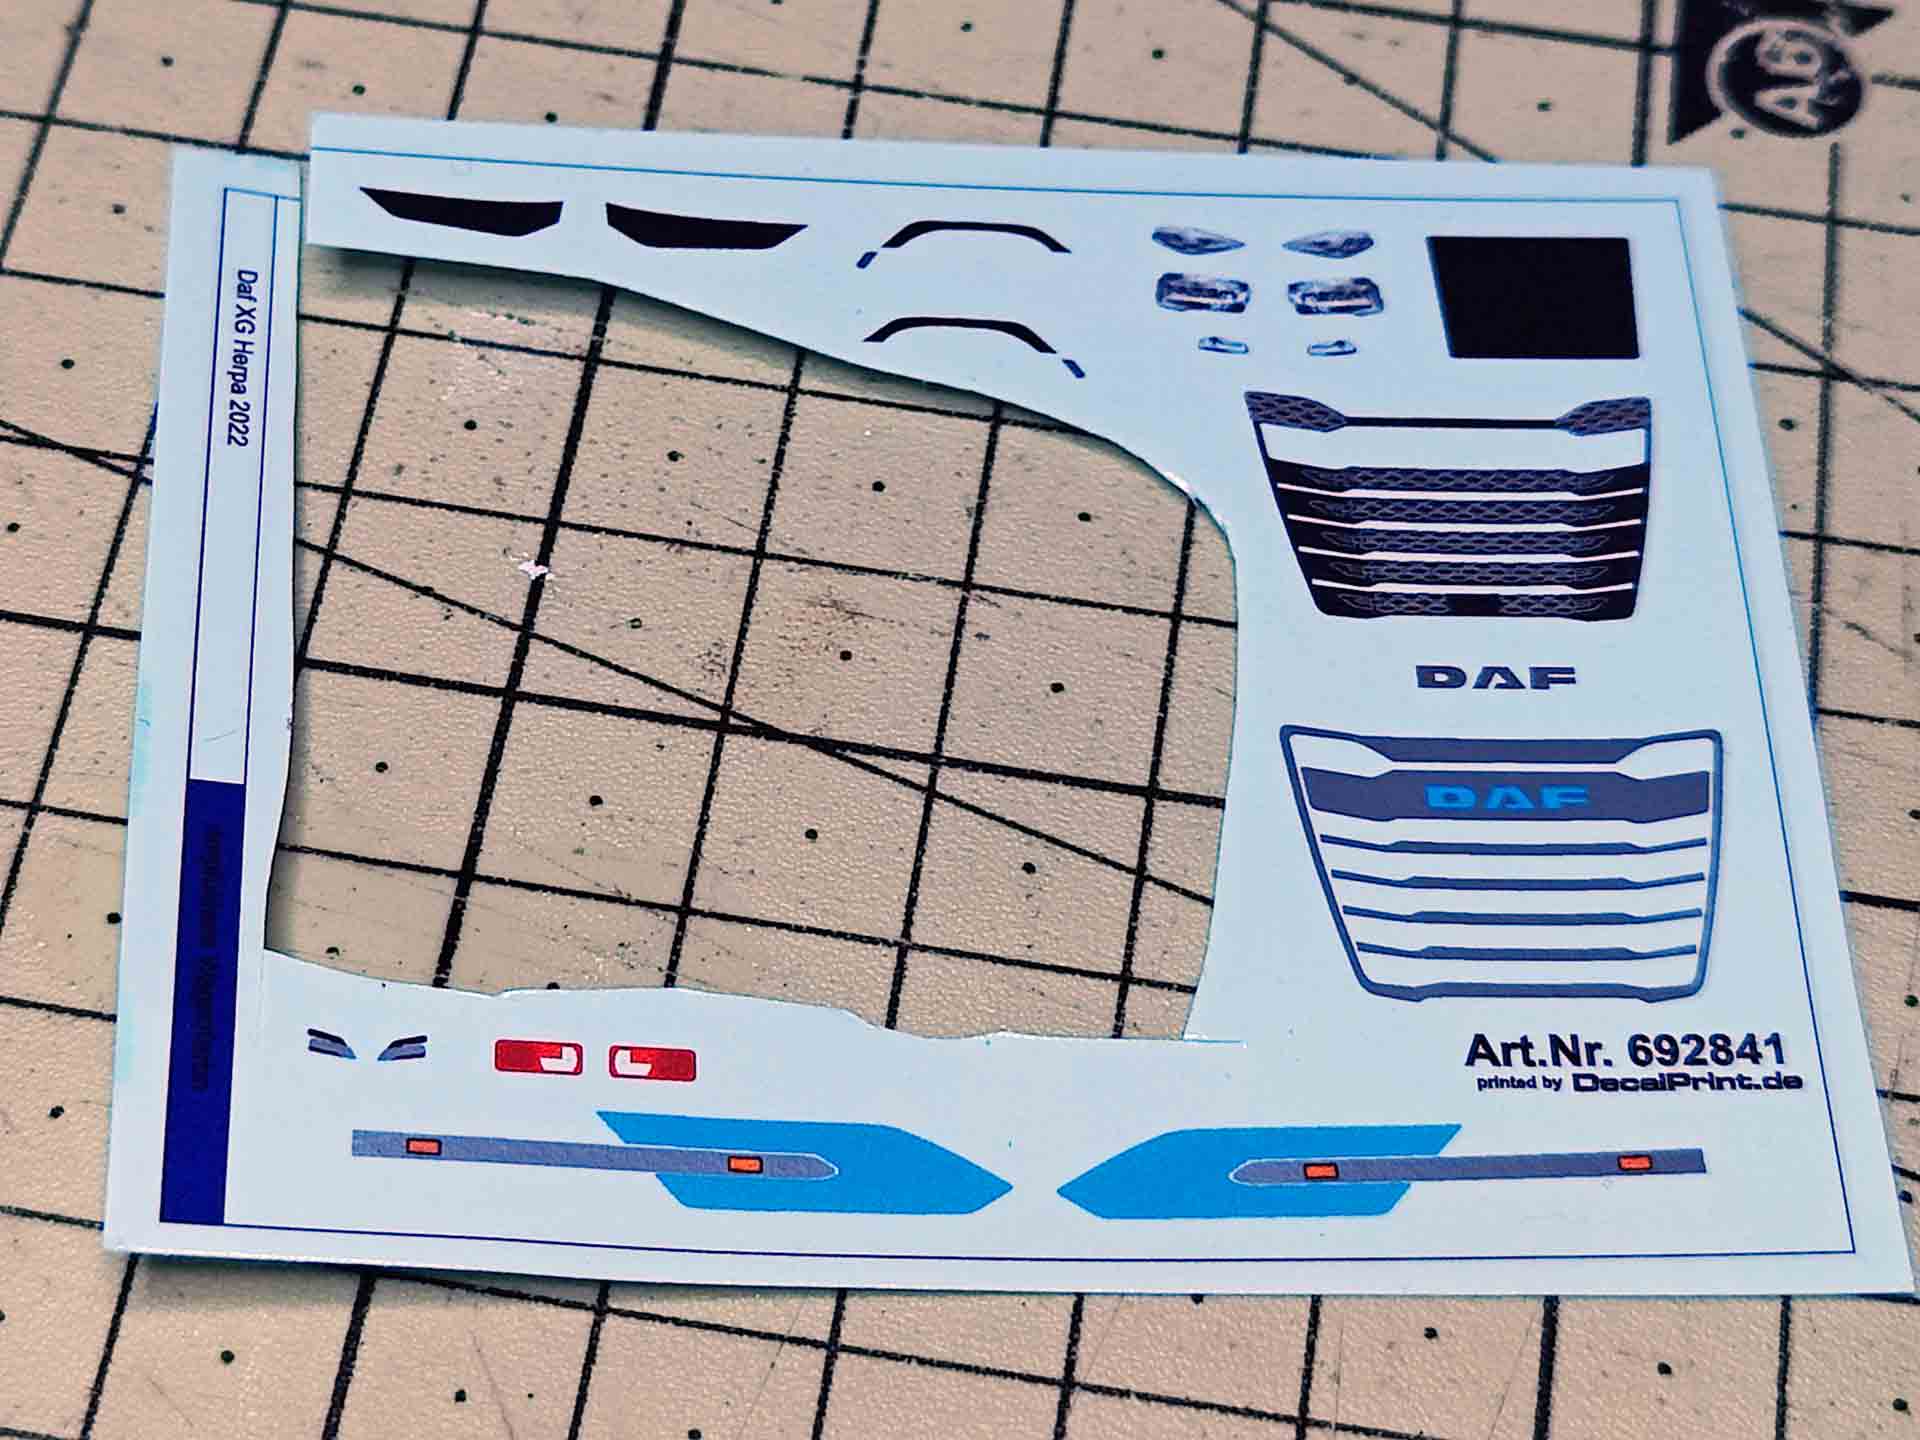
The motifs should be cut out as precisely as possible, as the thin carrier film has a small edge that is much more noticeable when too removed from the edge of the motif itself. It is highly recommended to cut out decals in step by step instead of disassembling the entire sheet. The fine details are very small and disappear surprisingly quickly.
Getting the groove
The design of a show truck in H0 scale is certainly not as laborious as the work of legendary airbrush artist Walter Rosner, but some aspects are the same. The surfaces to be covered must be free of grease and dust. The former prevents the stickers from adhering and dust, lint or hair will inevitably show through the wafer-thin film. Using a glass cleaner is definitely advised. Immerse the first cut-out decal in a lukewarm water bath for a few seconds and then allow it to unfurl on a paper towel for a while. The film separates from the backing paper and can be slid onto the model. Hence the German name “Nassschieber” (wet push).
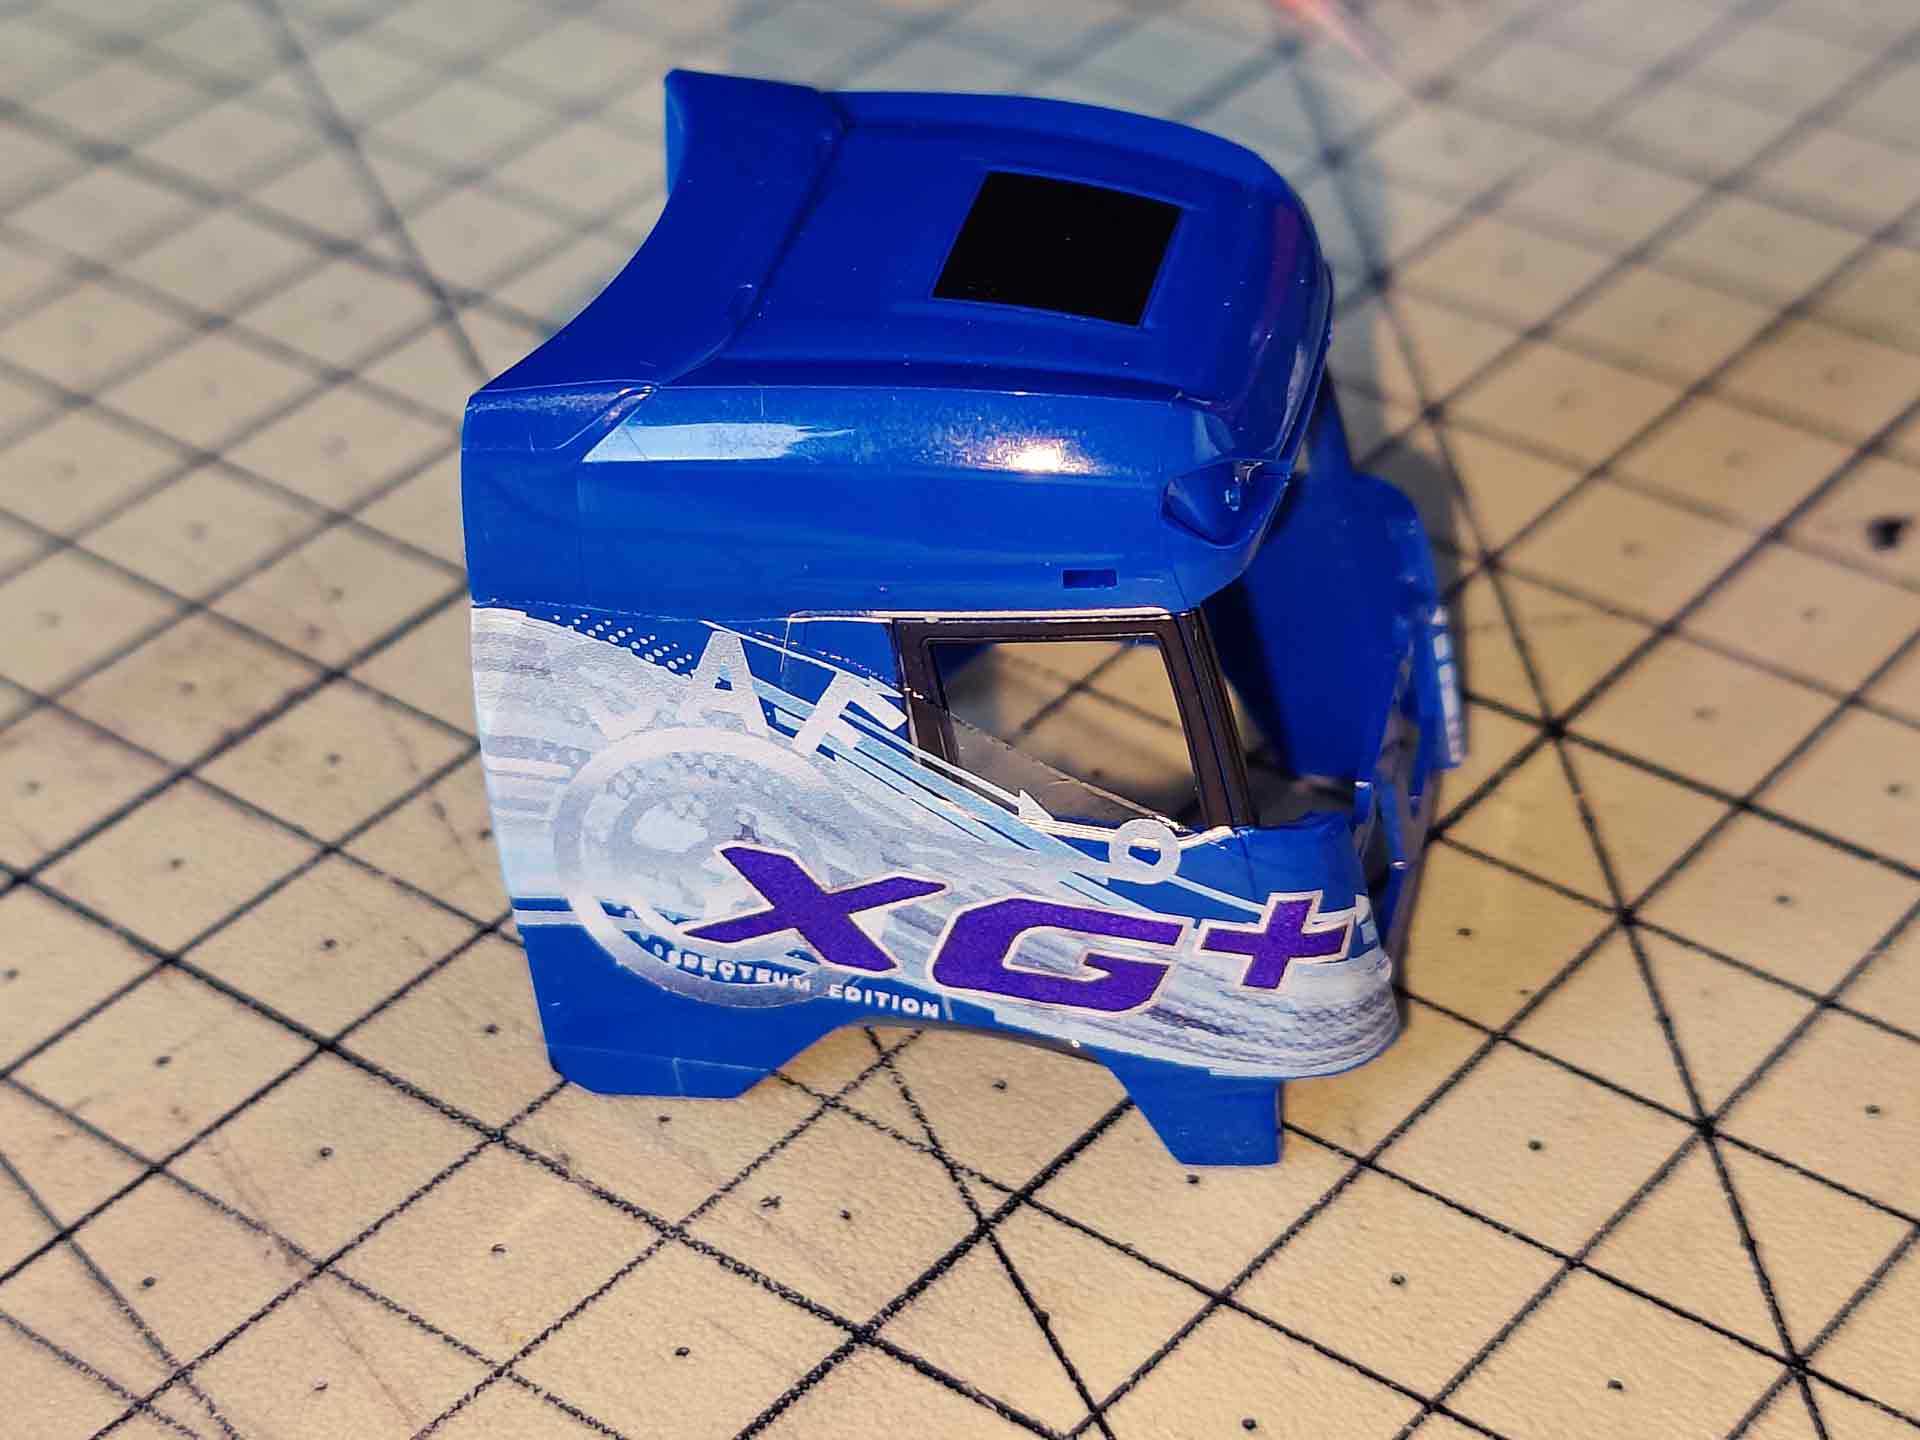
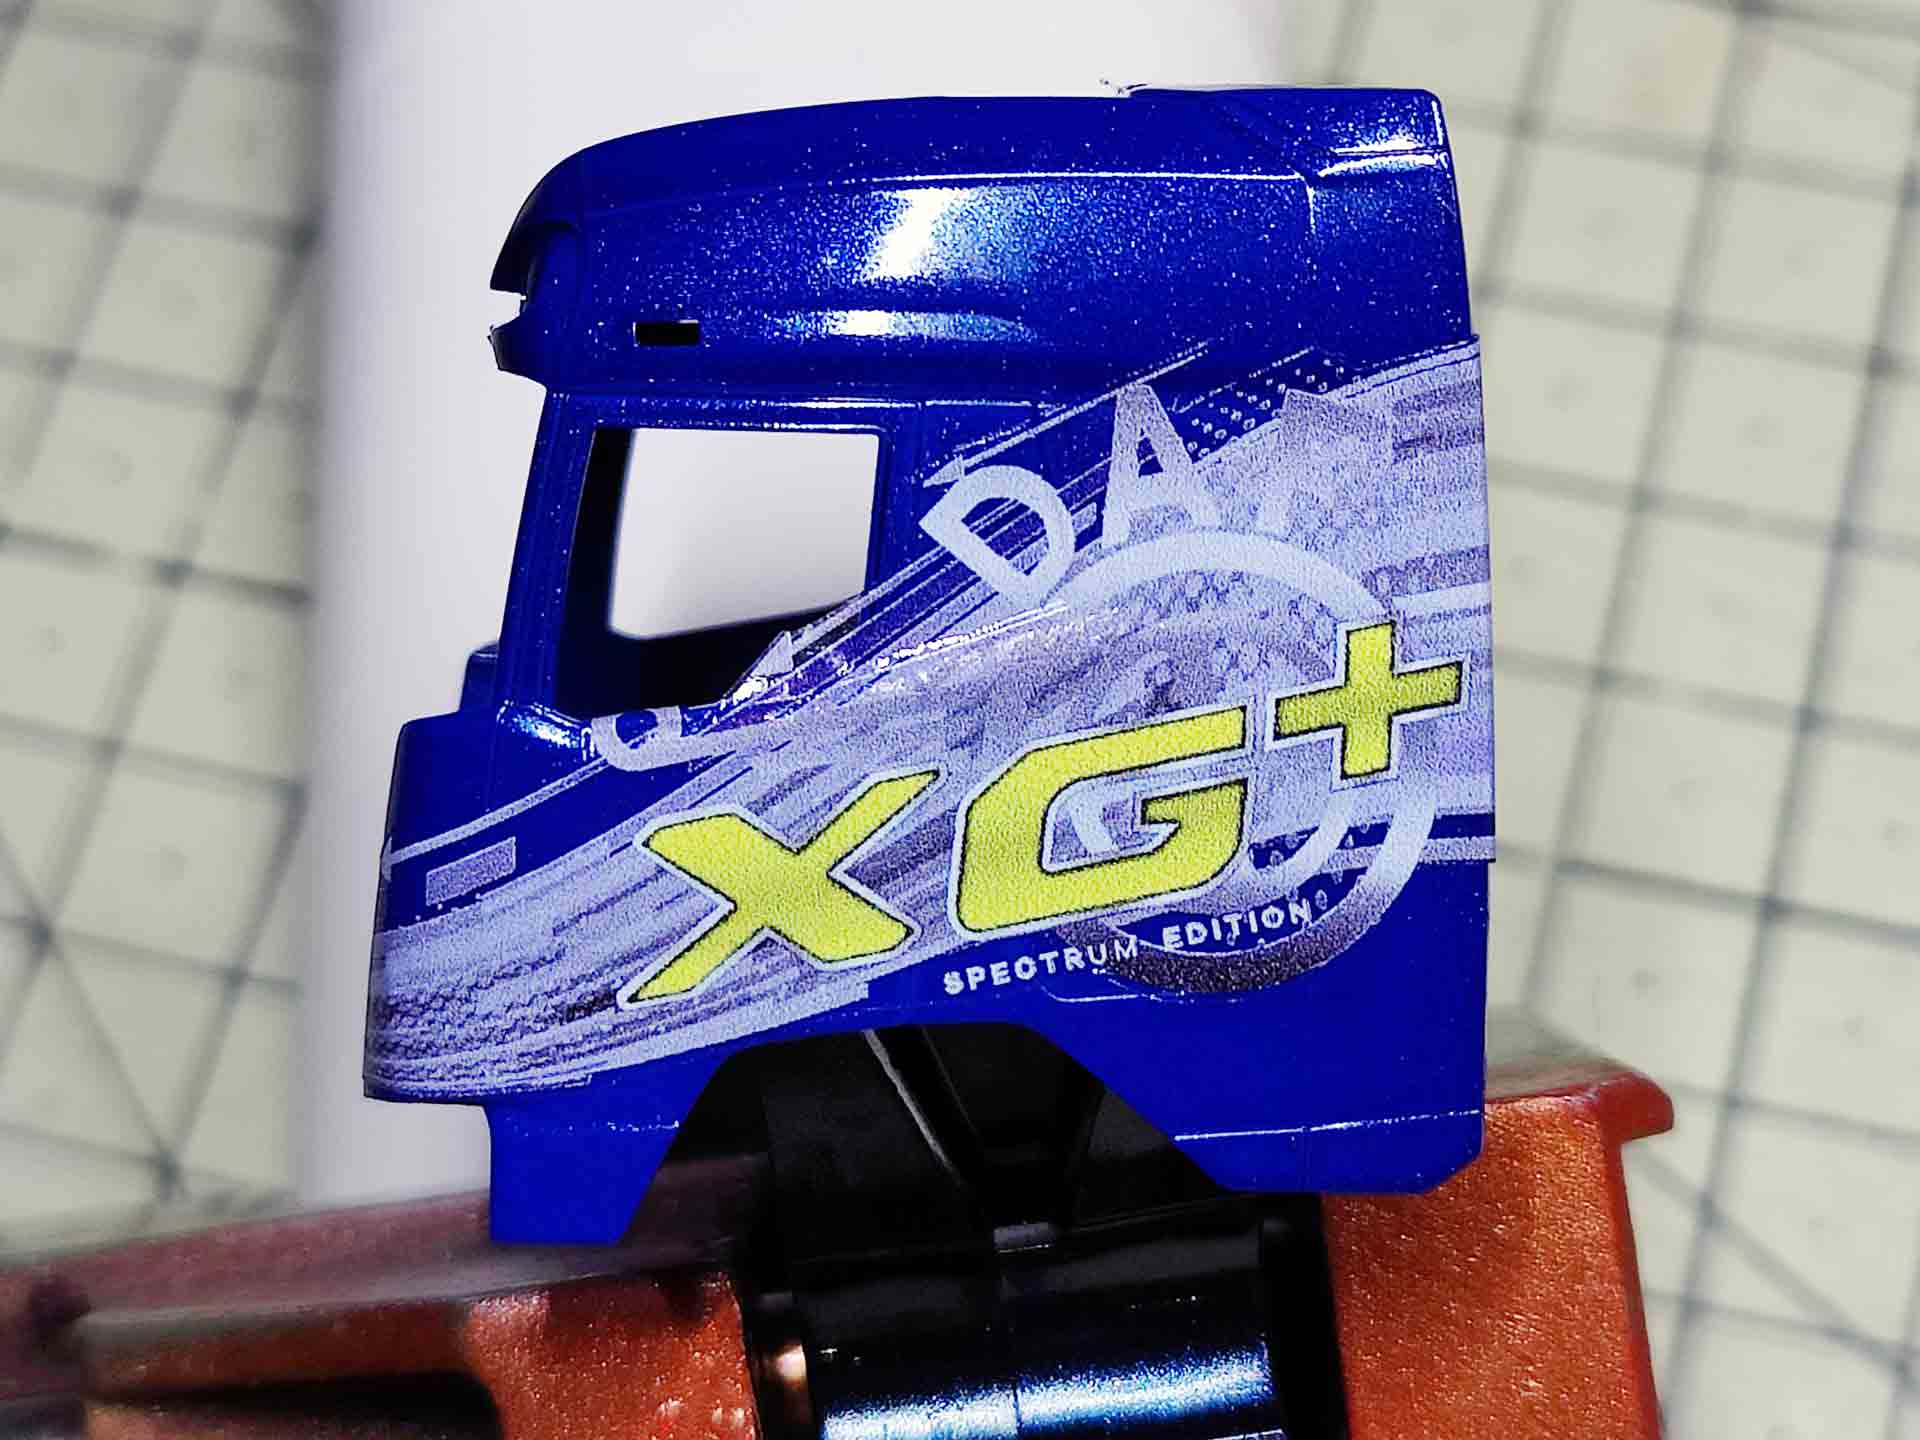
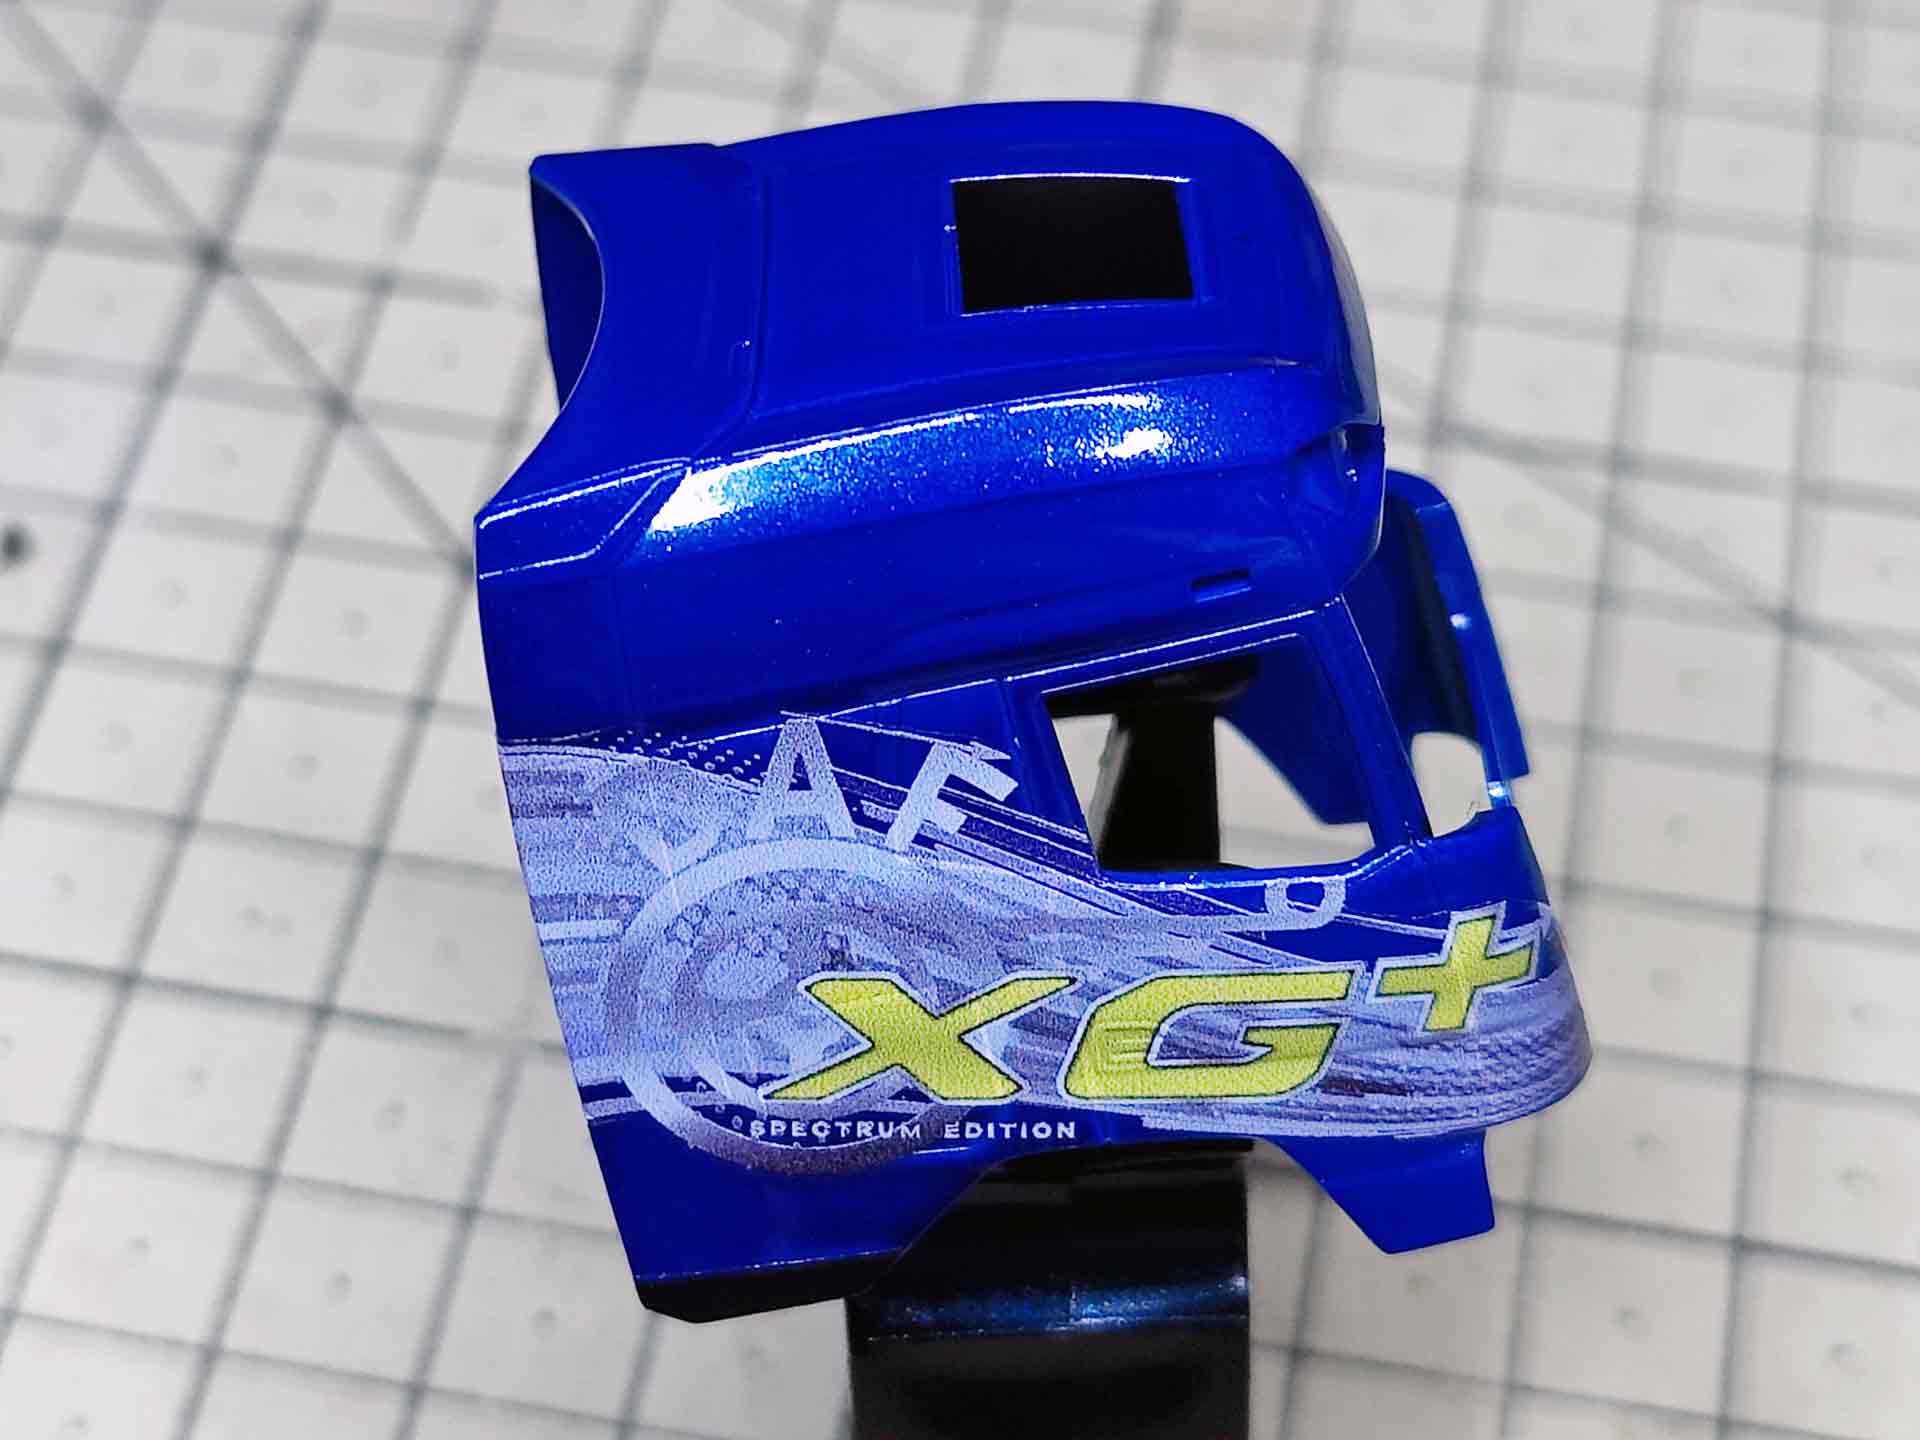
Depending on the size and surface, the model is moistened with water or MicroSol and the film is roughly floated into position. Water allows more time for alignment, whereas the decal adheres more quickly to MicroSol. No air bubbles should remain under the film. They leave a silvery and annoying shine. If the motif is meant to run over door joints, fuel filler caps, etc., MicroSol is advisable. It softens the film very slightly. Allow the liquid in the joint to act on the decal for some time and press it firmly into the joint with a cotton bud. This way, it nestles into the finest beading. This step can be repeated several times until the motif is perfectly smooth on the surface of the vehicle. Water or MicroSol is pushed outwards with cotton buds and absorbed by the tip. Replace the soaked sticks with dry ones to fix the decals. With a little practice, a rolling motion squeezes out the liquid and holds the motif in the desired position. According to Decalprint, the recommendation for a dark blue tractor is a light blue motif. Unfortunately, I was not so enthusiastic after applying it - I had expected more. Spurred on by this disappointment, the light blue motifs were removed and my new ambition was "Now is the time".
From a lacklustre place of work to a living room deluxe
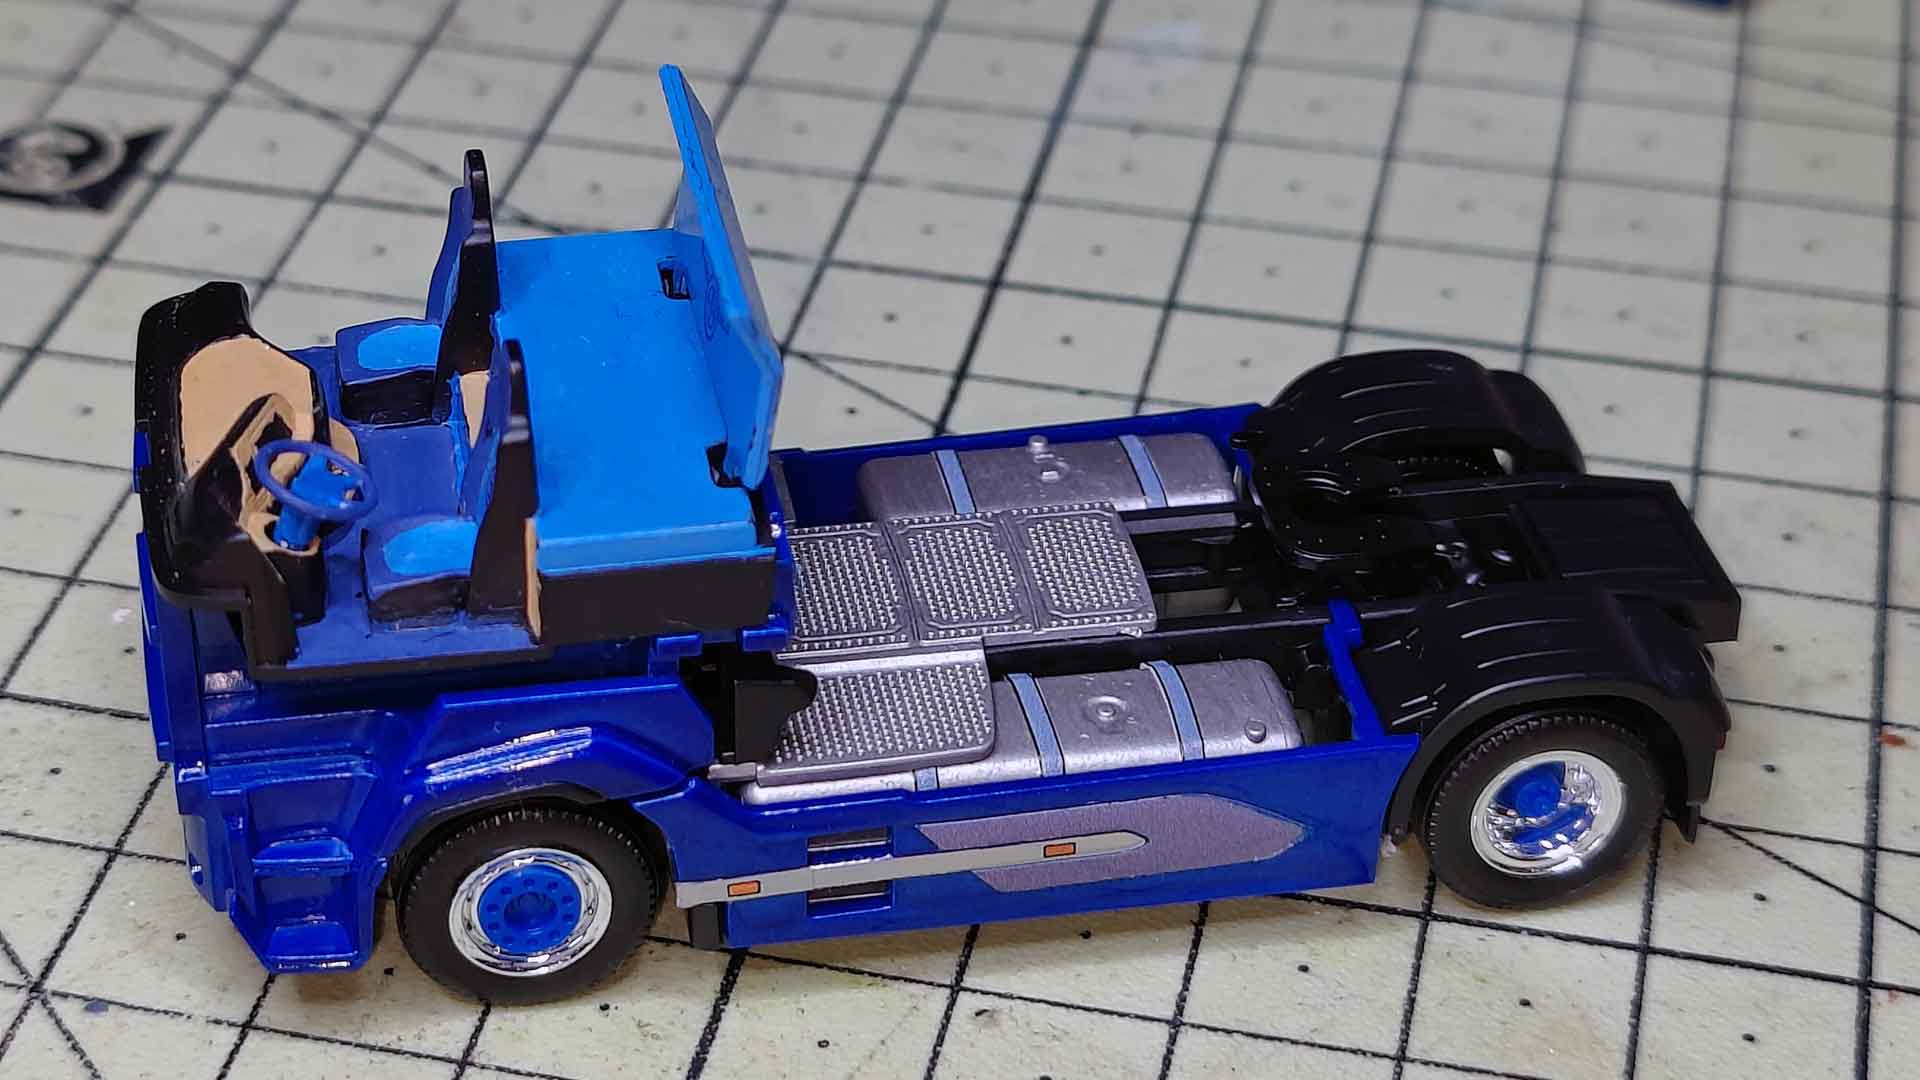
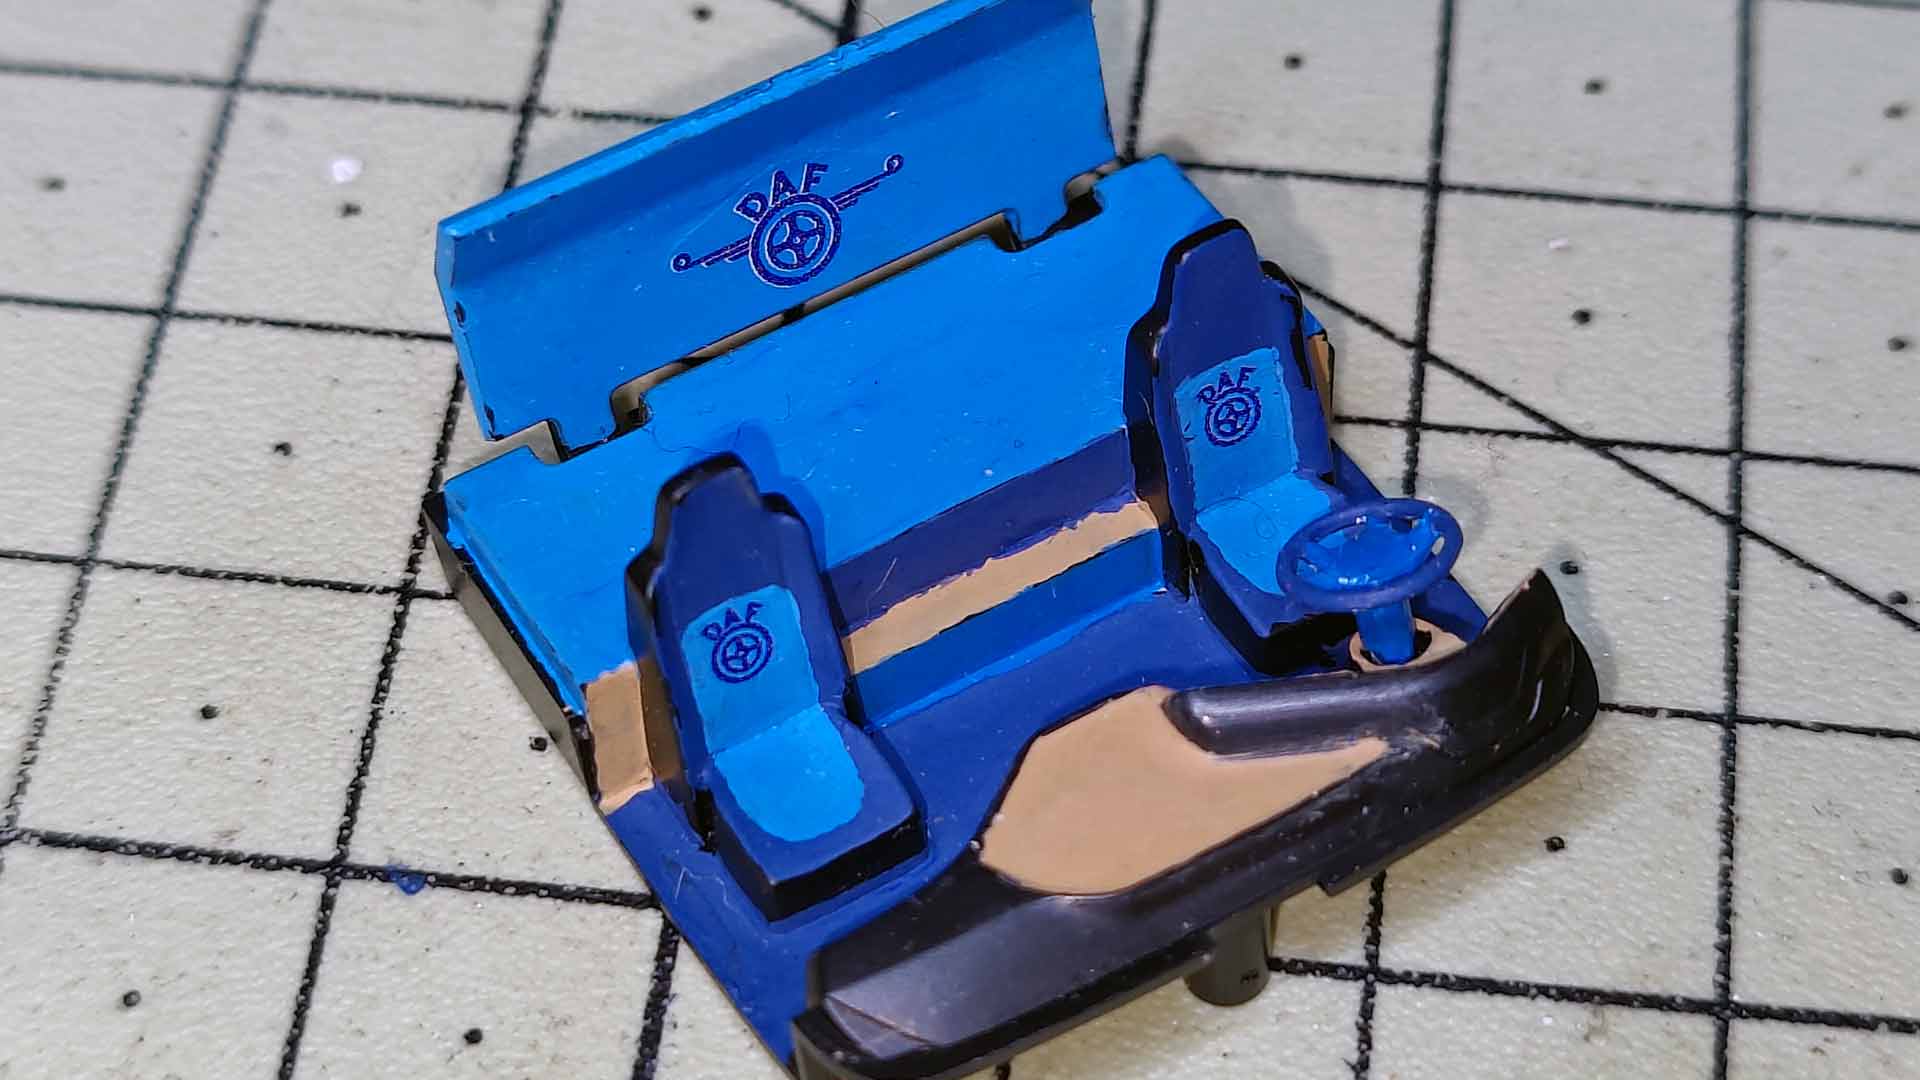
The waiting time for delivery of the yellow motif was used to extensively redesign the enlarged interior. When you ignore the everyday haulage fleets, things can get quite daring and exclusive. In Scandinavia, the cabins of show trucks are often redone most radically. Simple seat covers are thrown out, quilted leather comes in. One more advantage of the aforementioned freedom of model projects without a set role model. The interior was given its effect with paints from the Revell Aqua series.
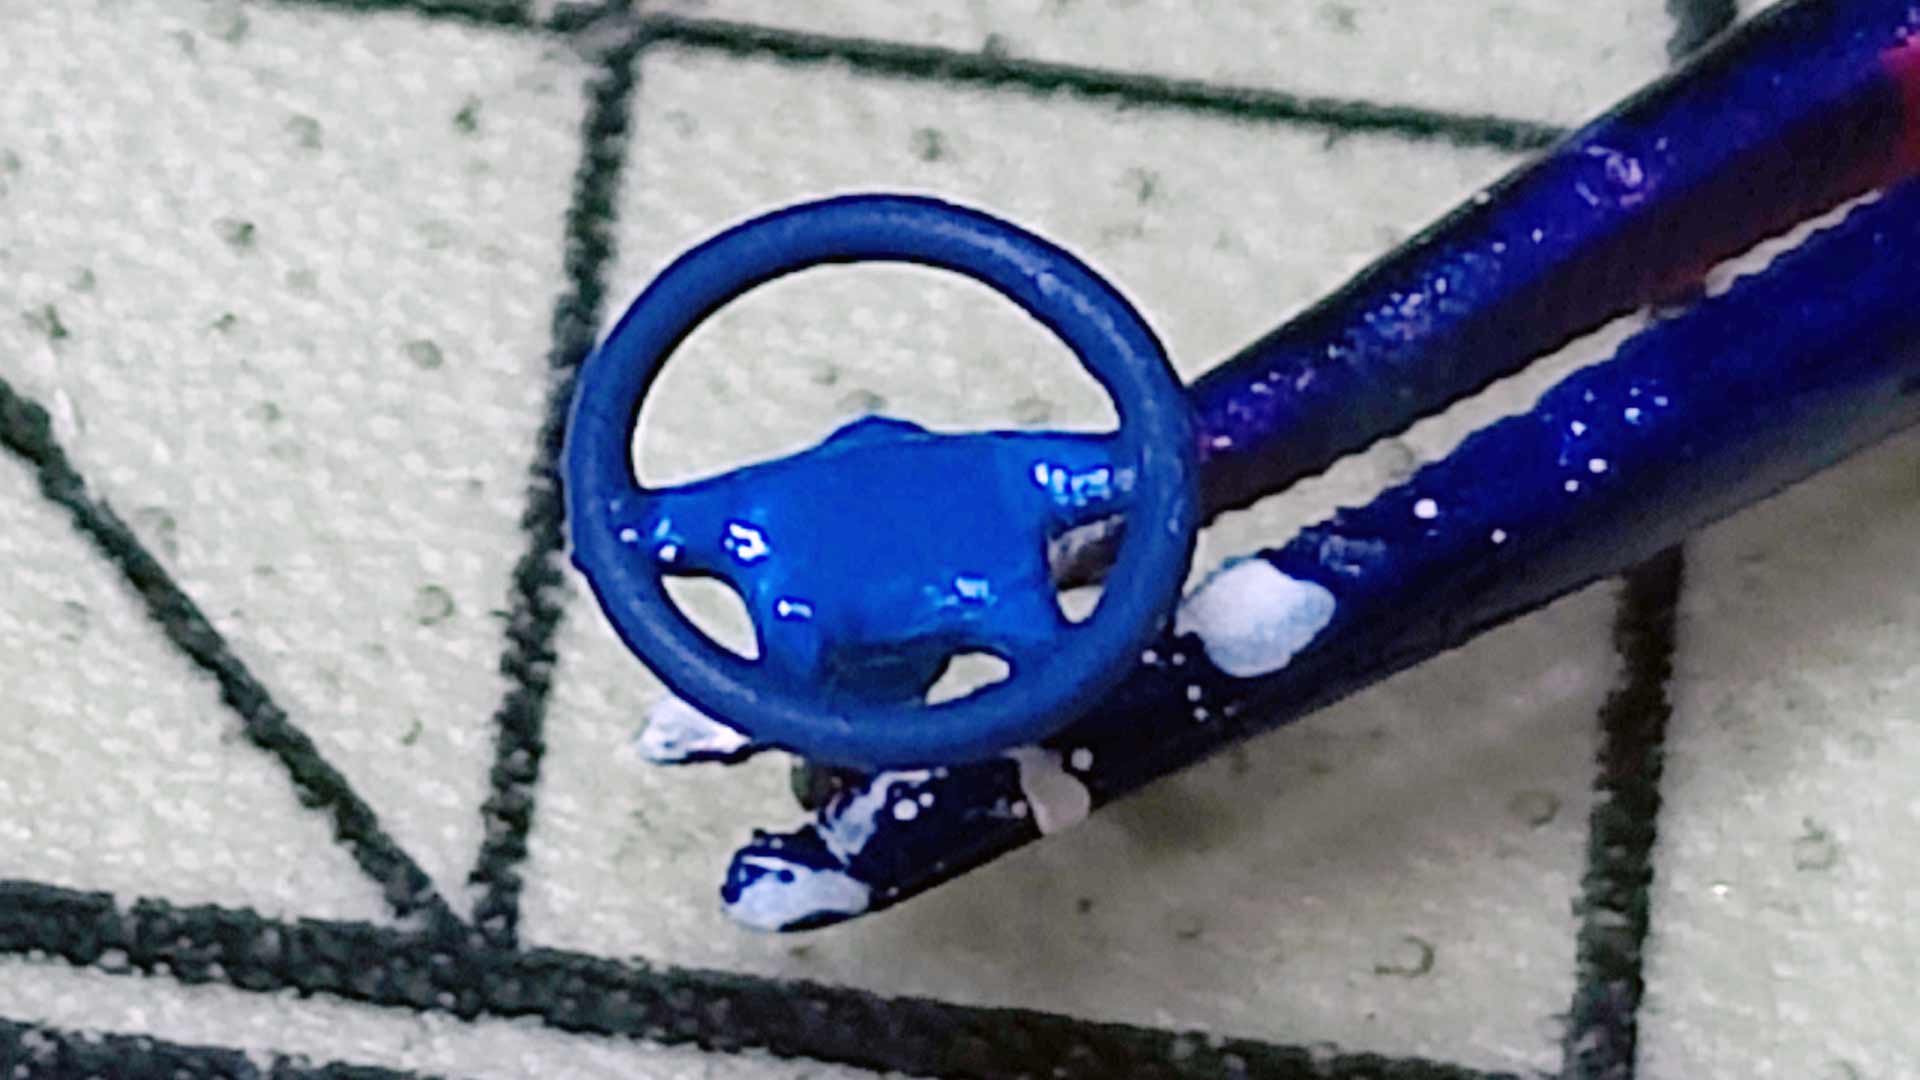
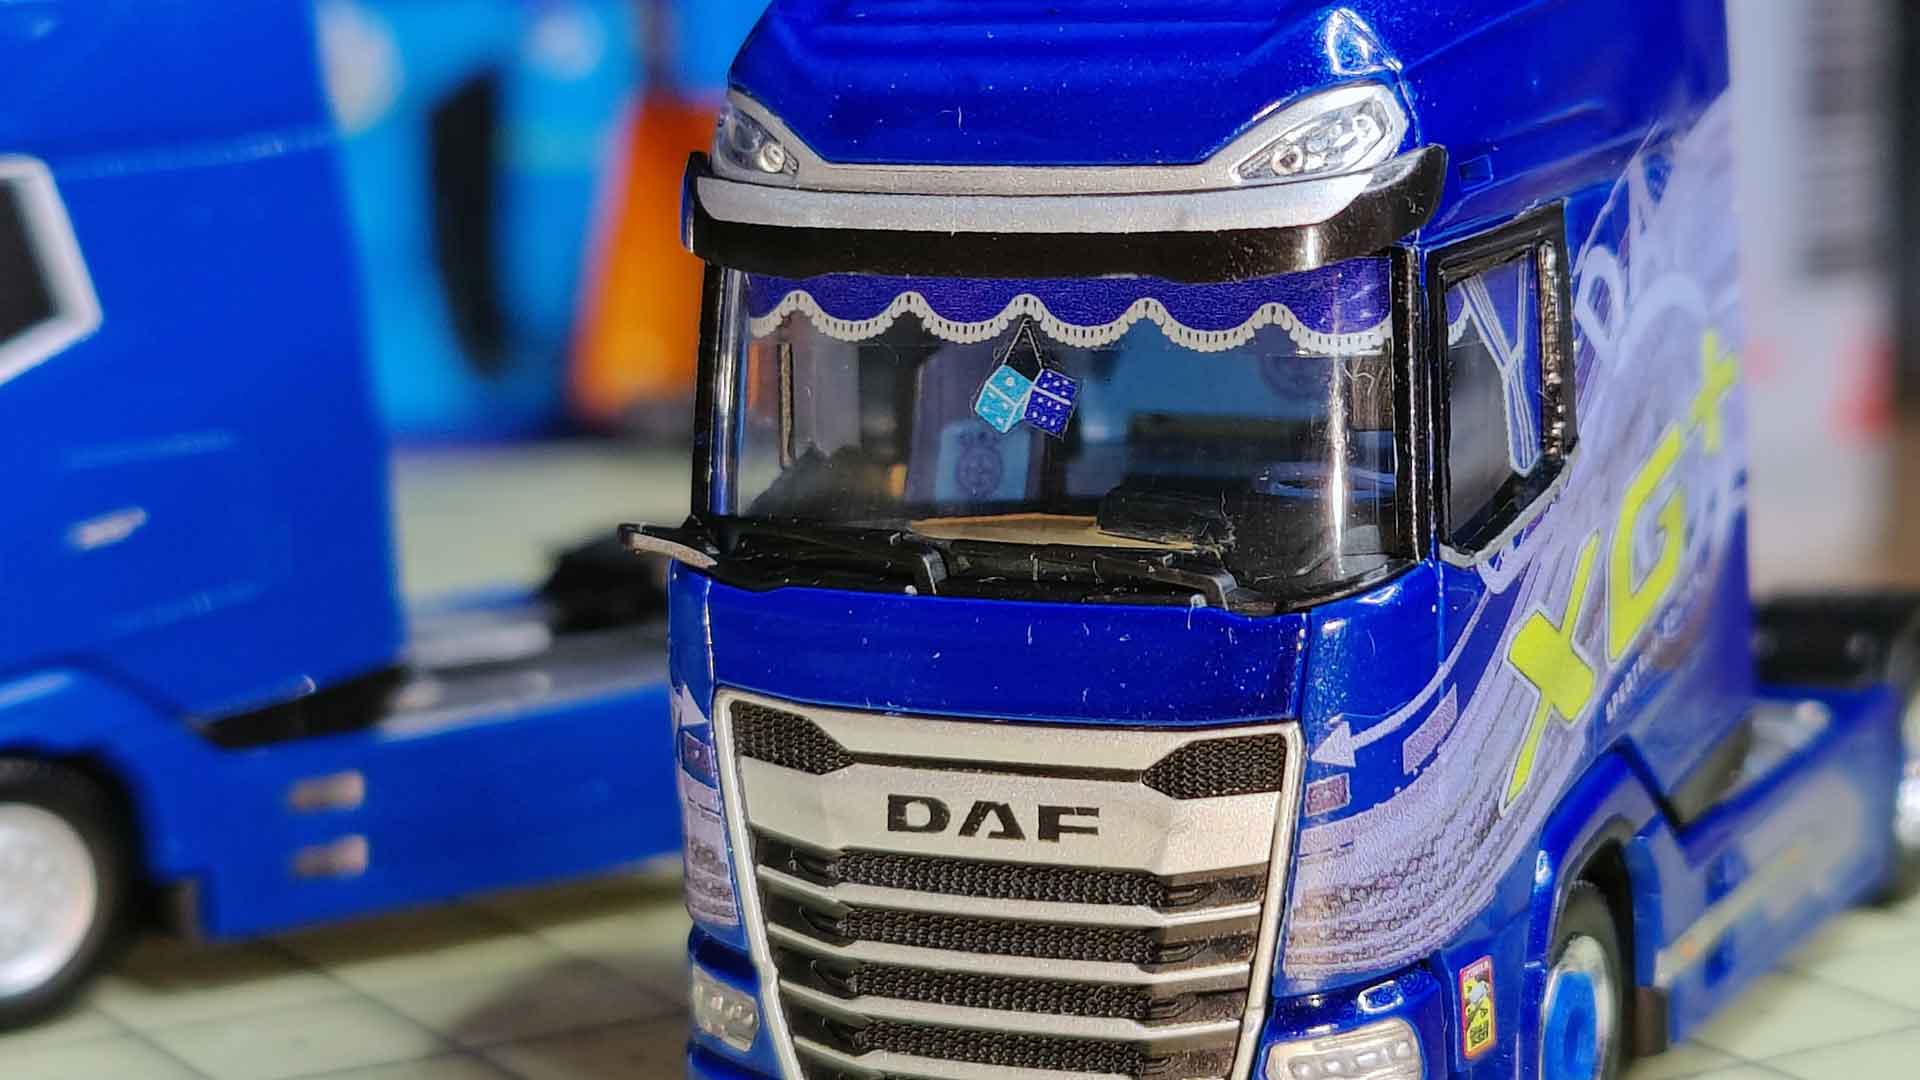
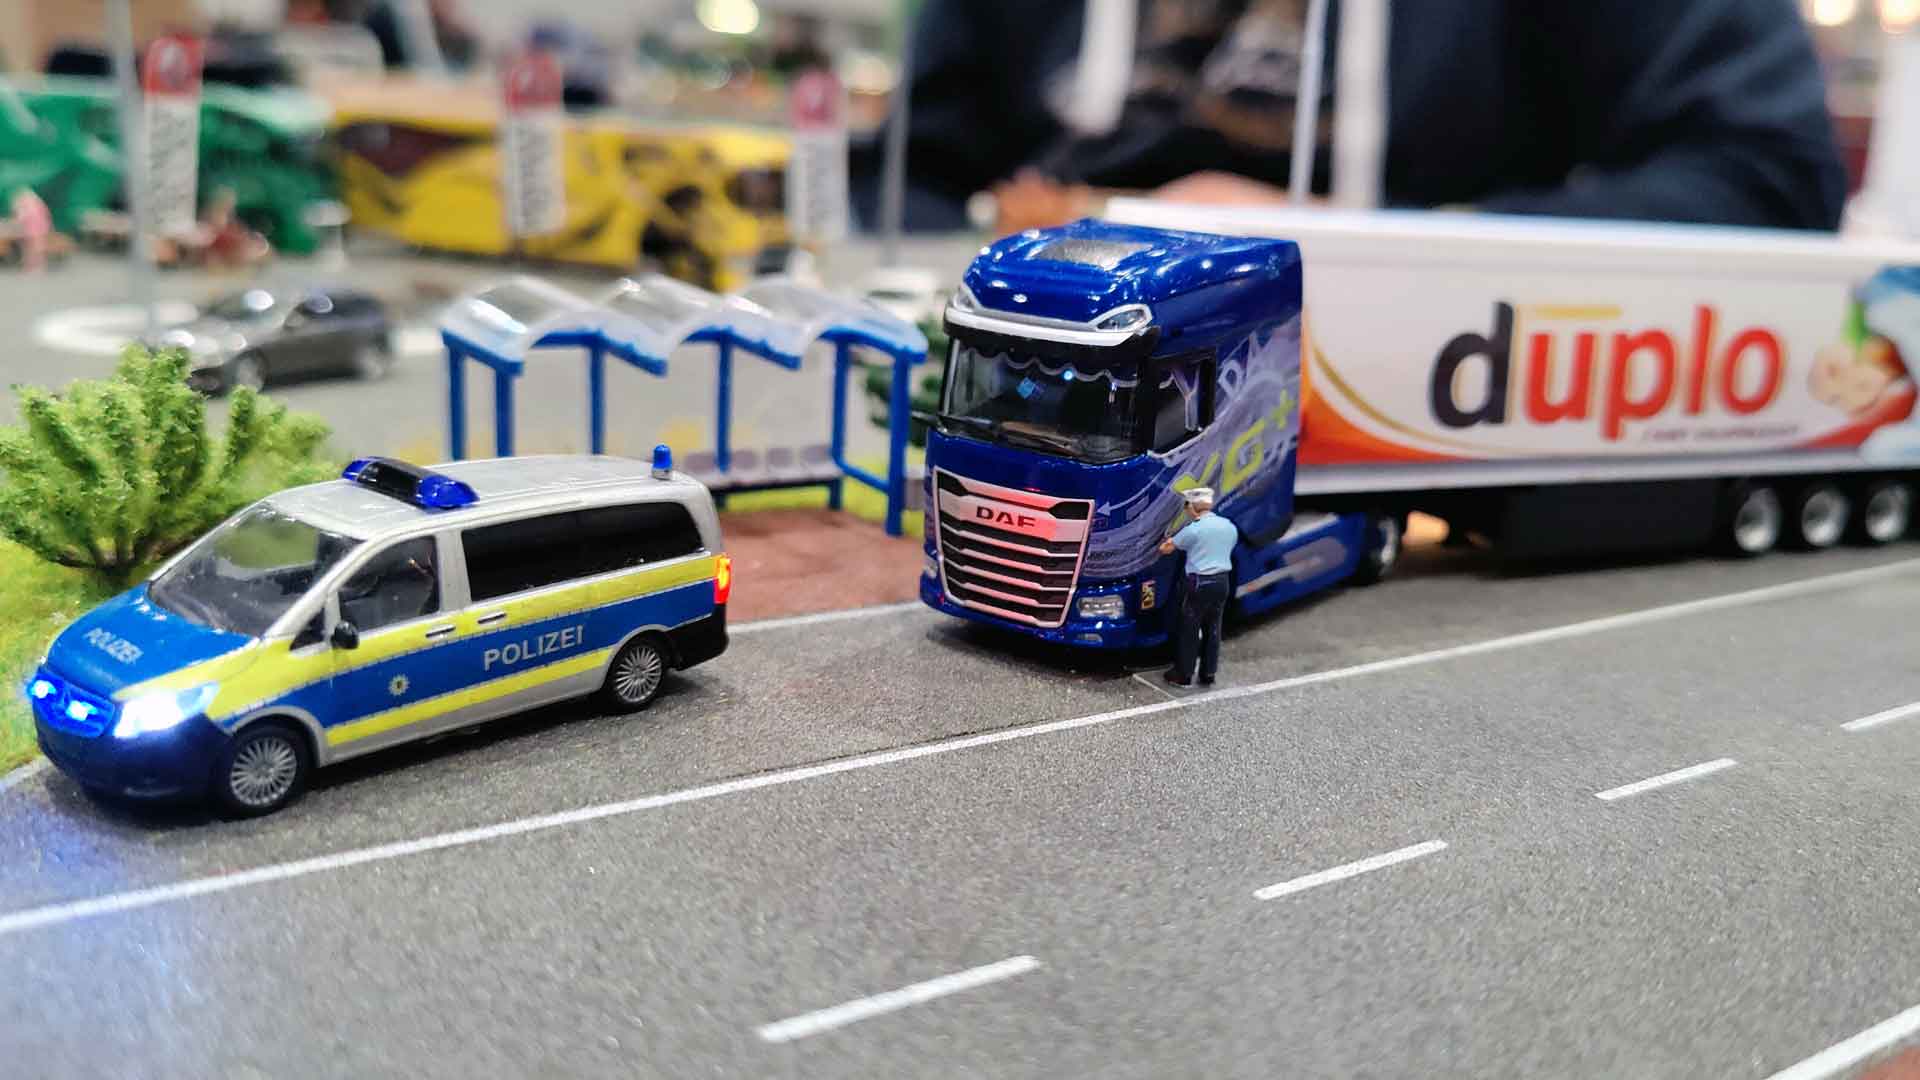
A quick search on the internet provides realistic design ideas for the interior, but the small window areas only admit a little light into the cabin. Bright areas and matching splashes of color invite a closer look. There are two-tone blue seats and steering wheel, there’s the extra-wide sleeping area all spruced up, and the shelves in the front area are lined with warm cream tones. The old DAF emblem can be found on the sides of the cab and is repeated in the interior on the rear wall and the seats by specially created decals. There are curtains in the windows and a pair of blue lucky dice dangling in the centre. Whatever is available is used.
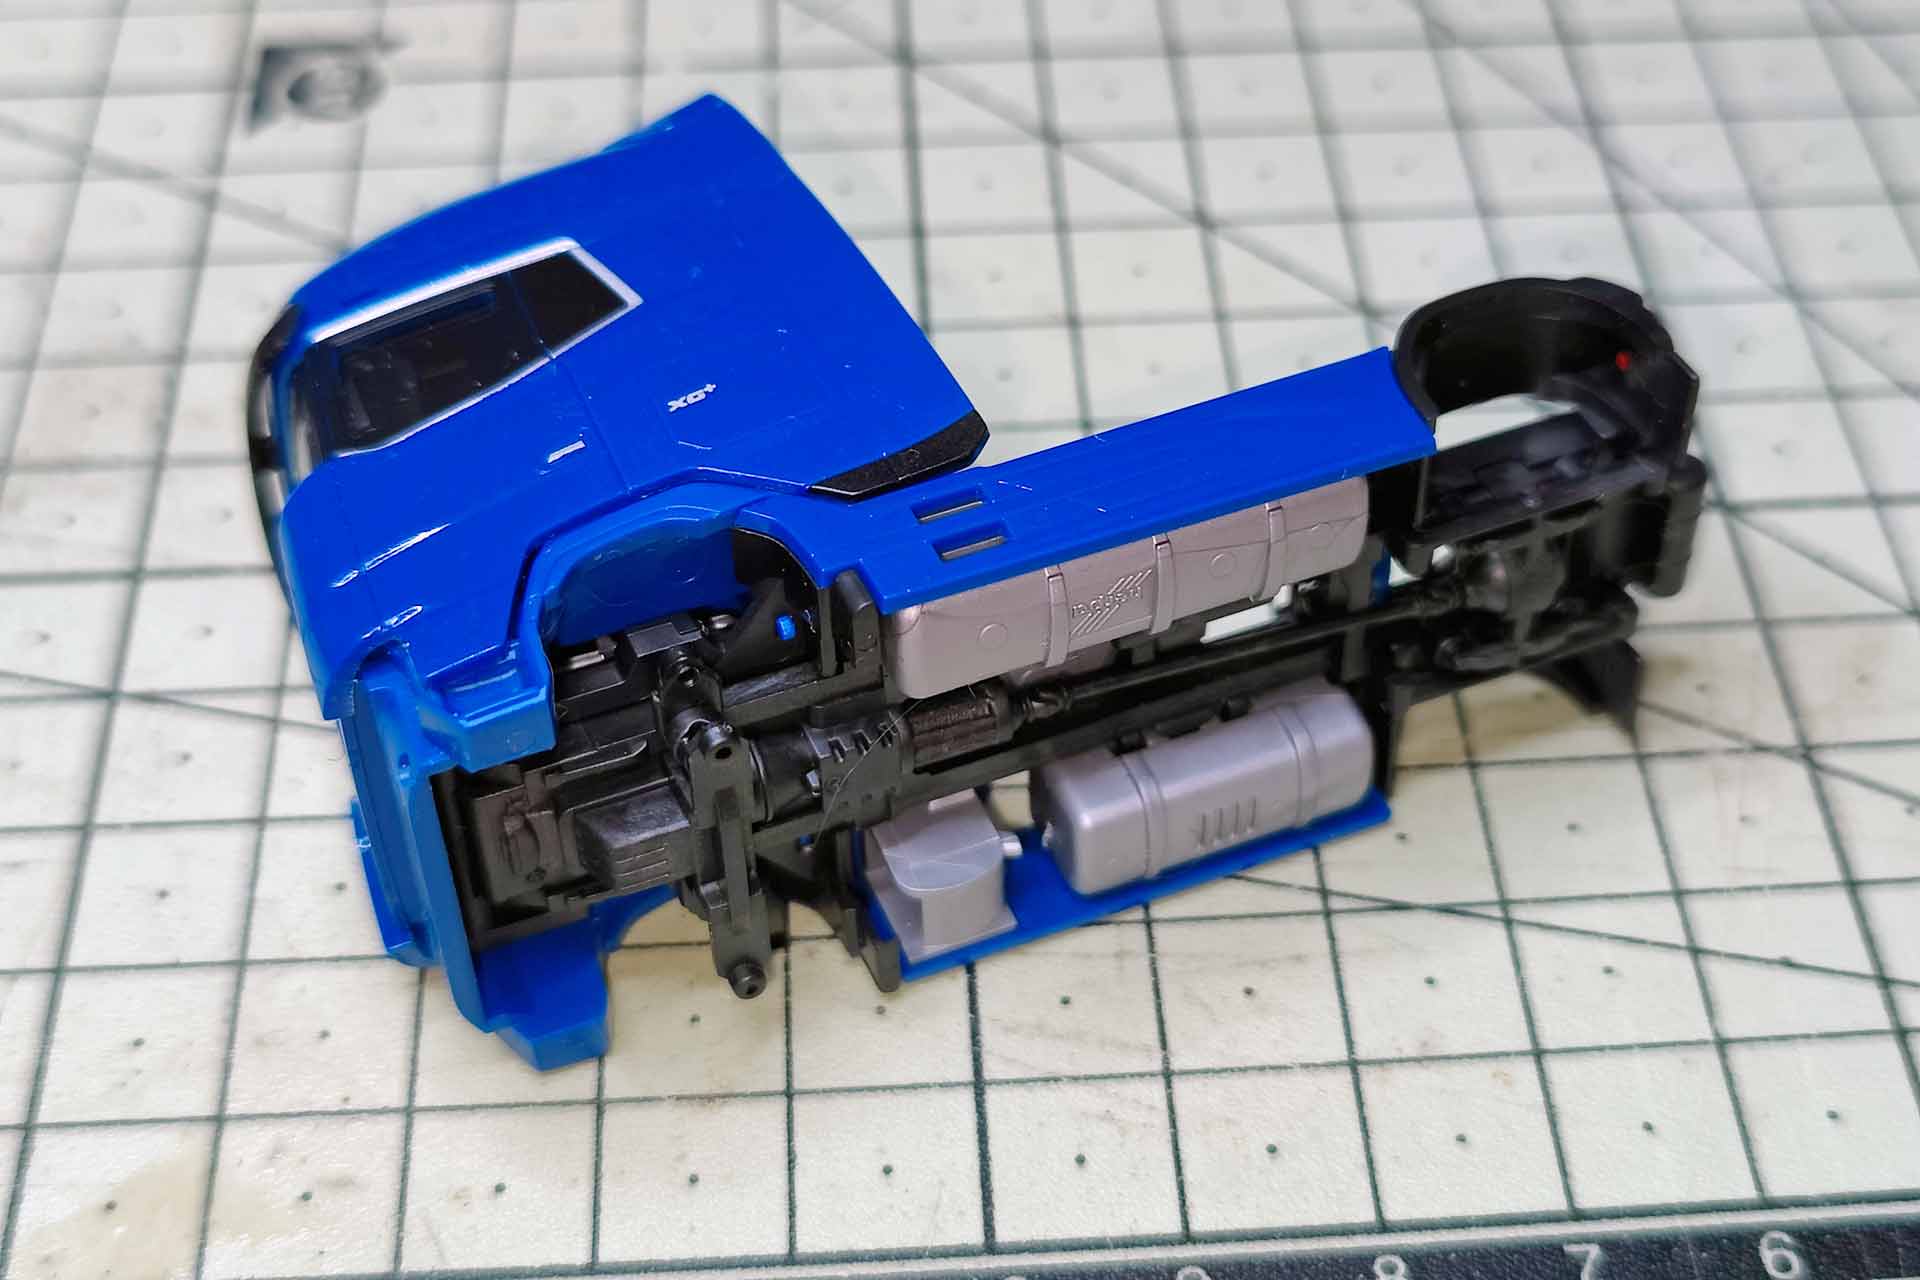
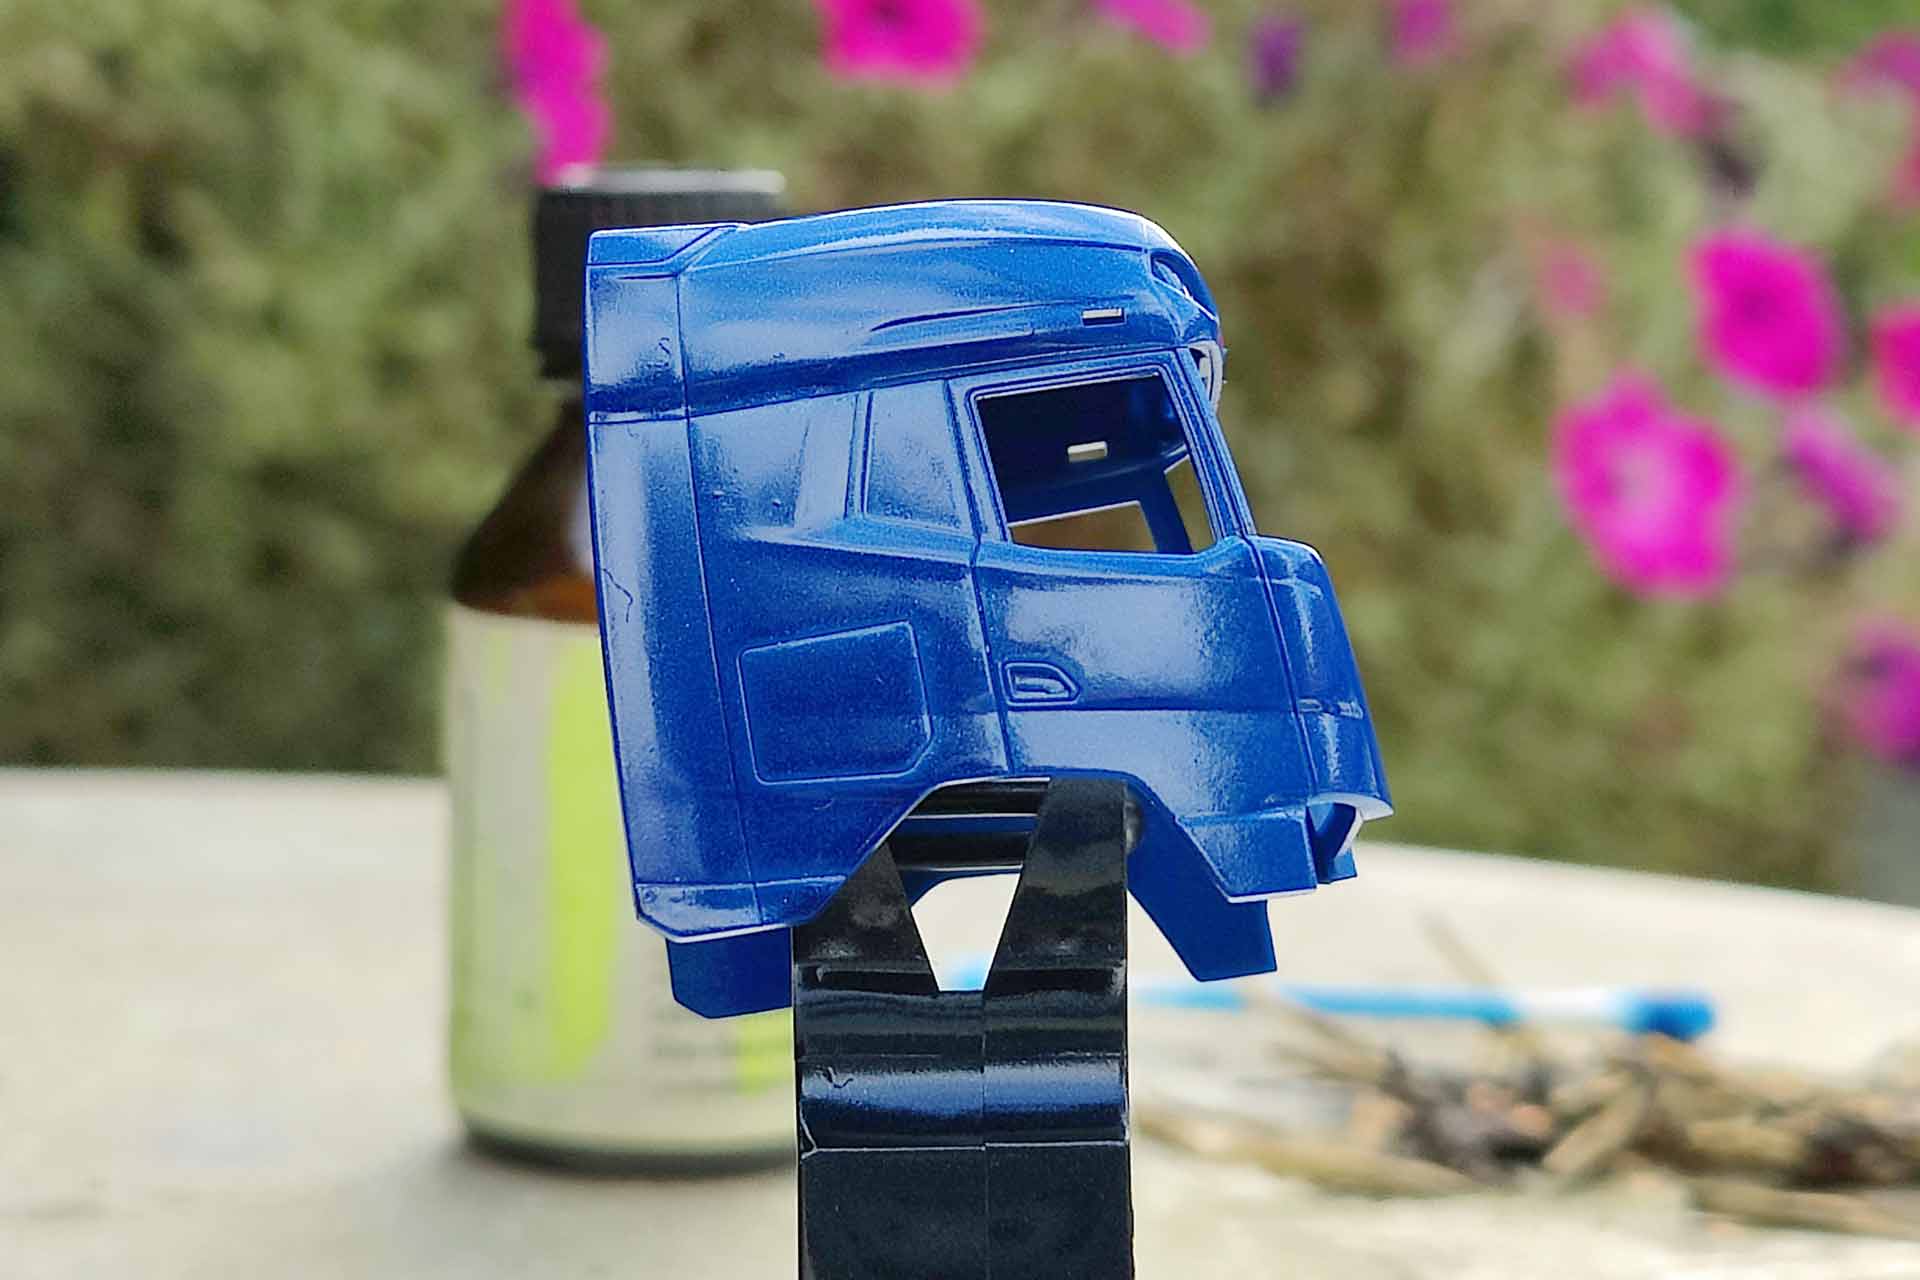
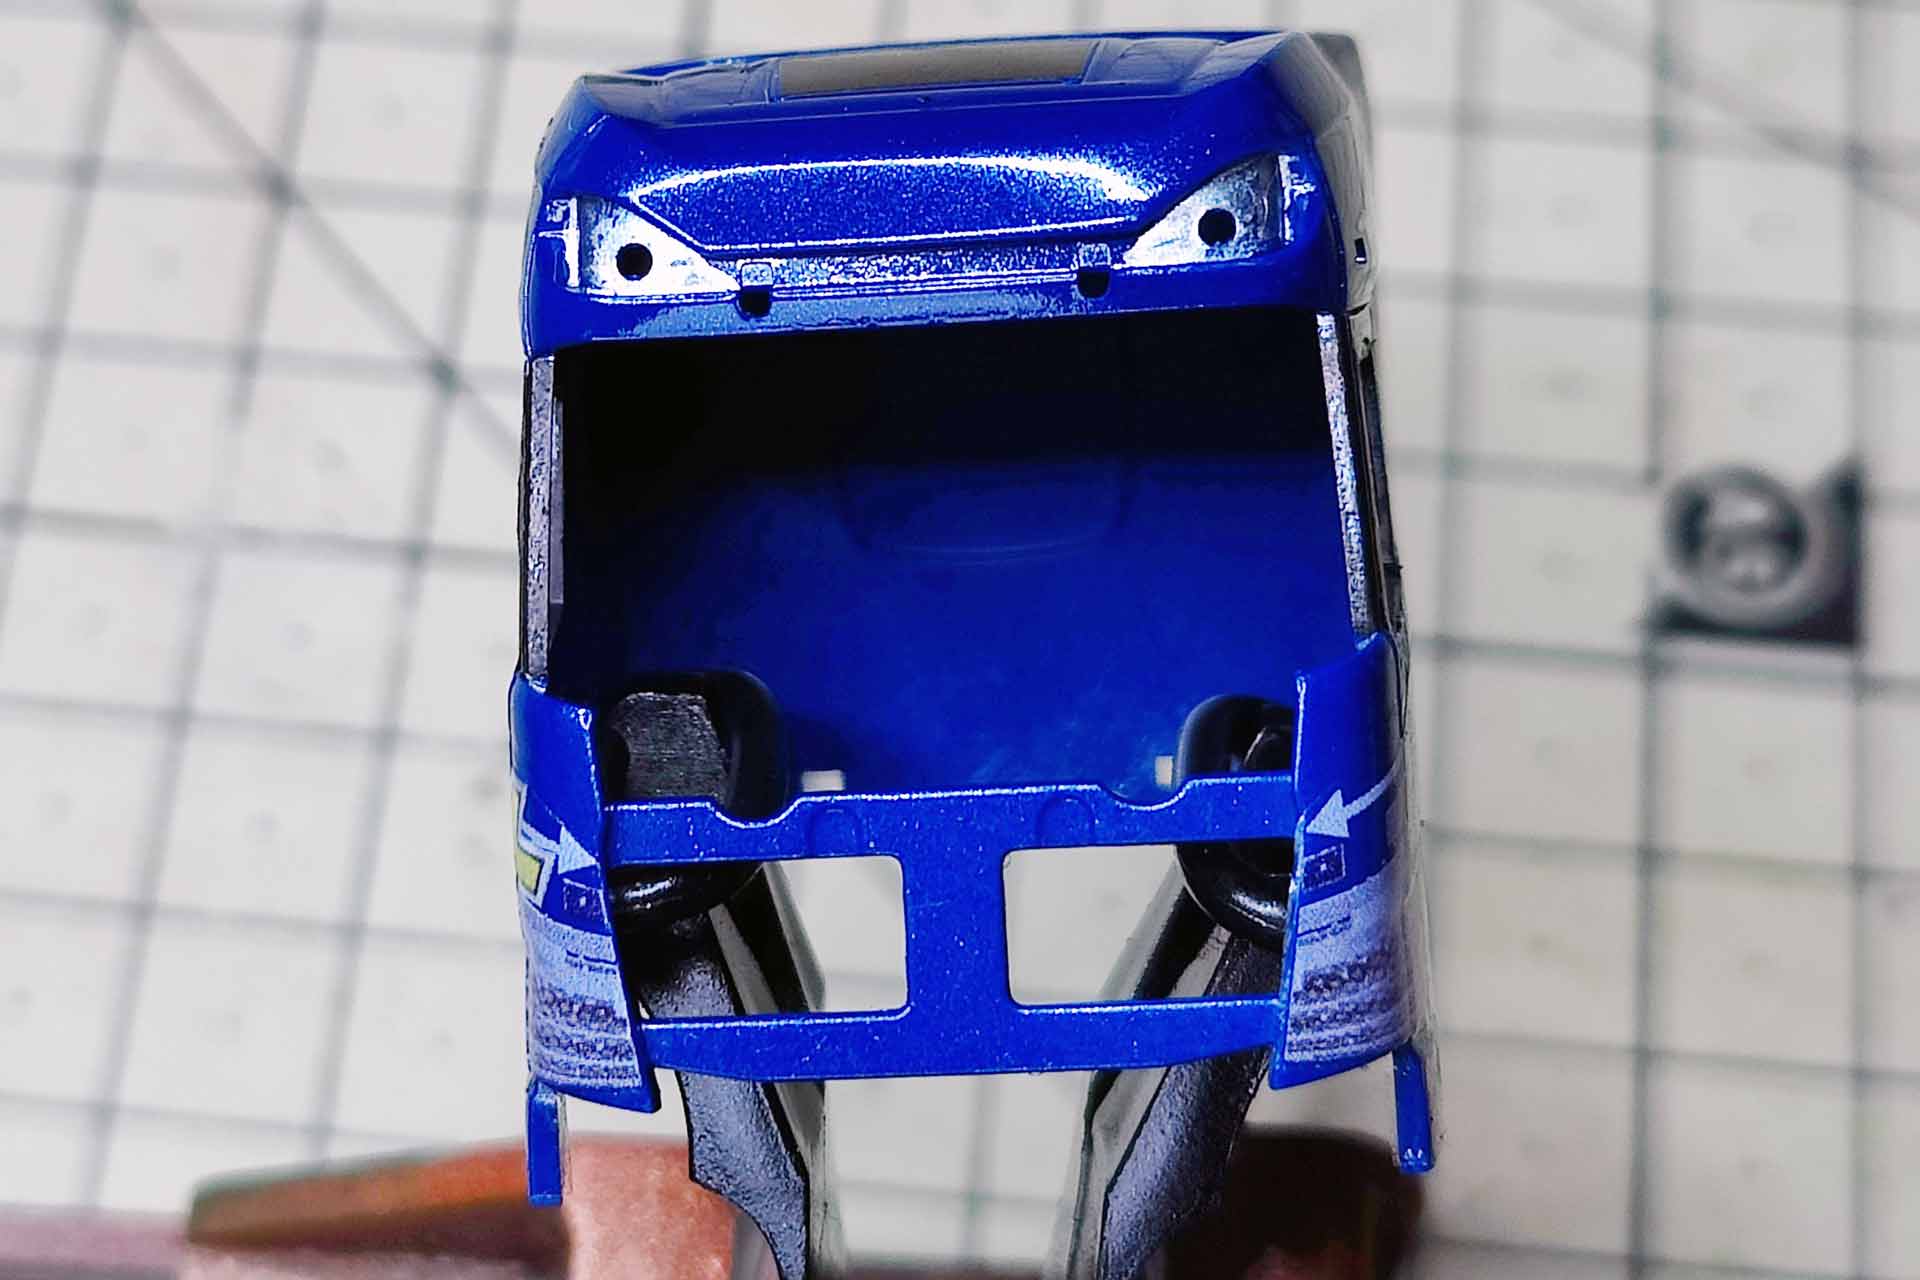
With the new slogan in mind, the gentian blue plastic parts were painted in Tamiya’s Mica Blue metallic. The Japanese paints are known for their high opacity and luminosity and are easy to apply from the spray can. Although I was skeptical about over-painting blue with blue metallic, the results were compelling.
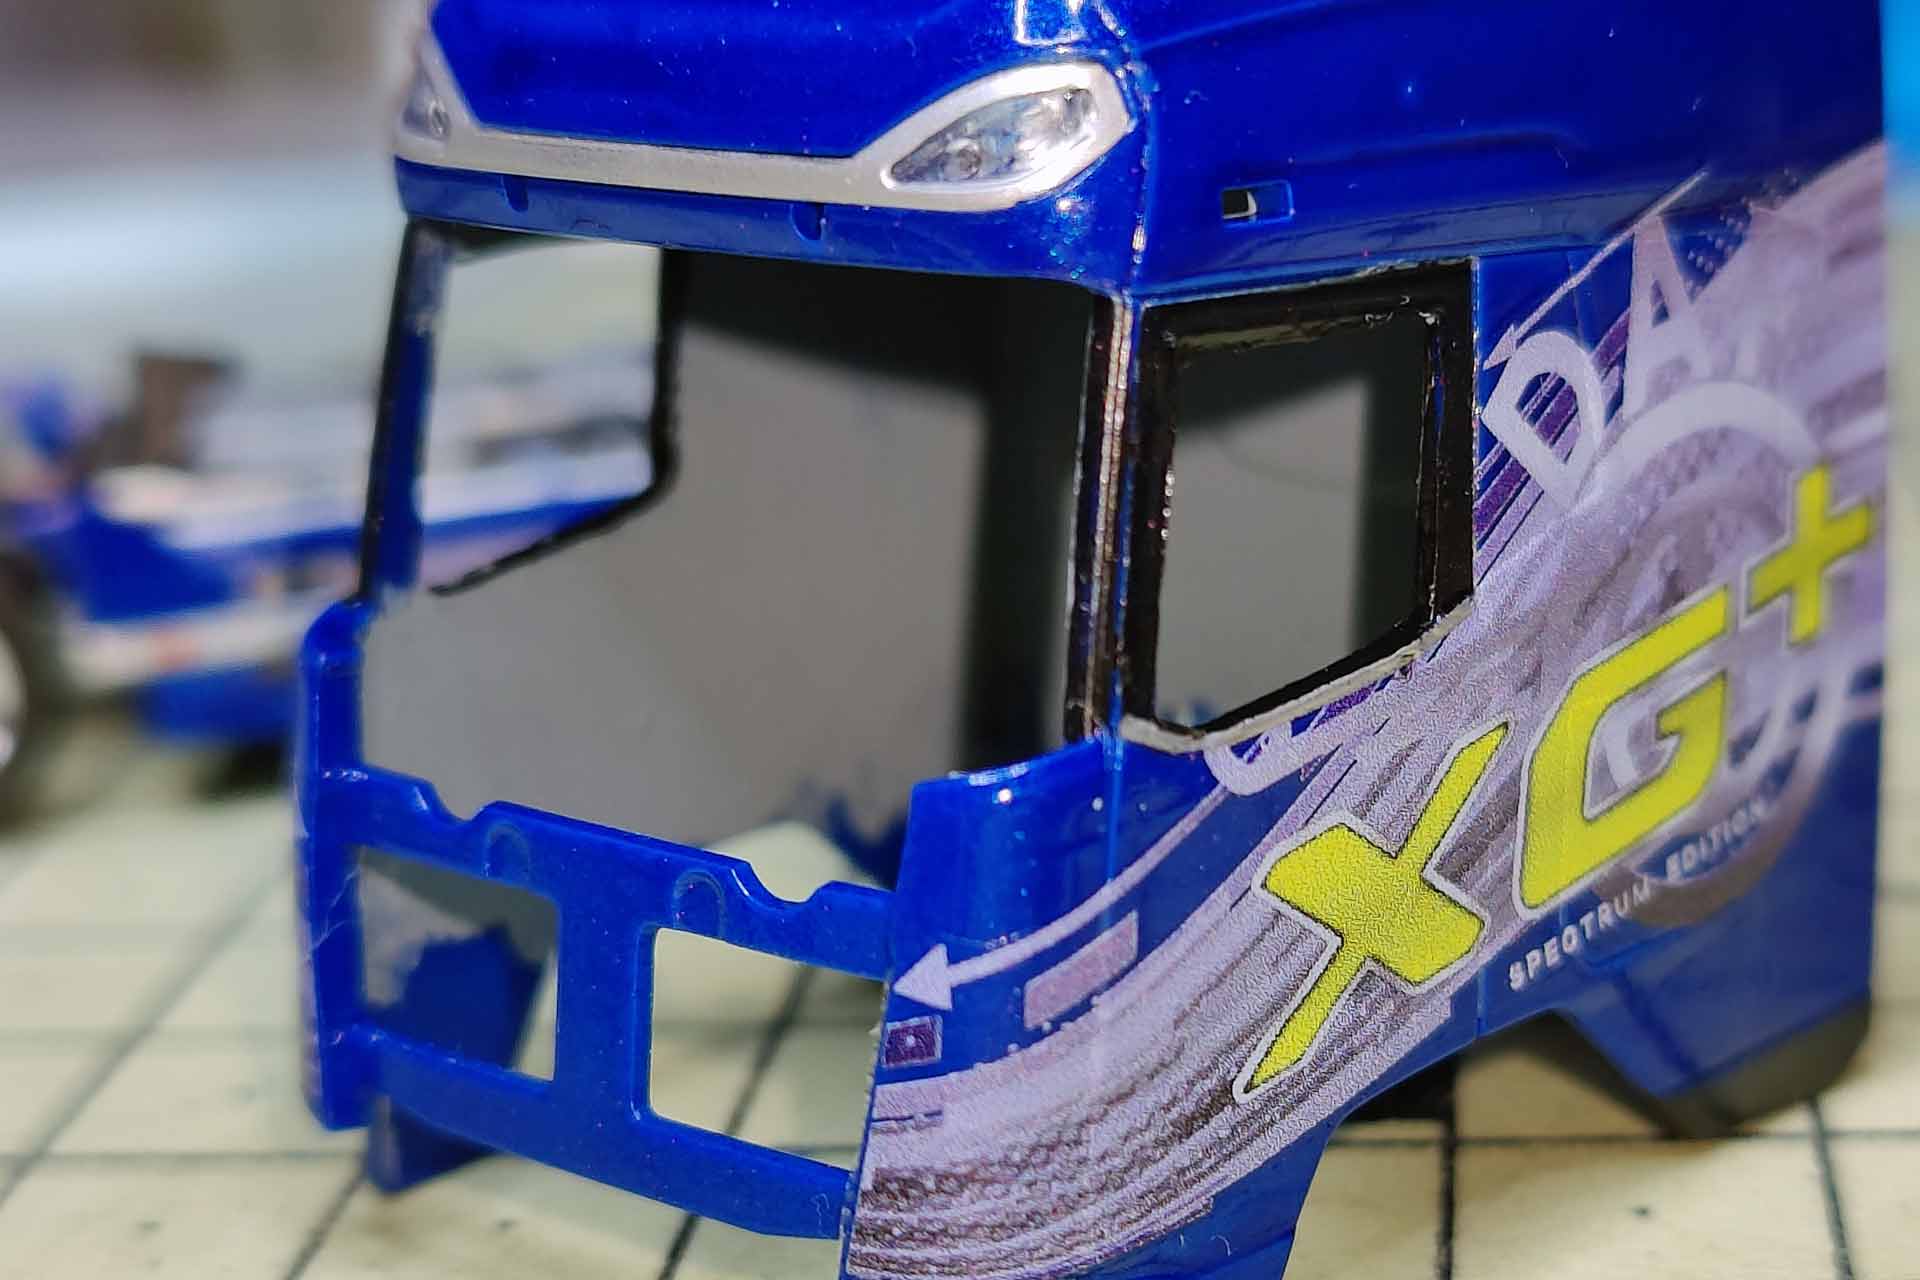
Indeed, they begged lining the indentation of the chrome clasp above the windshield in the area of the small headlights in silver. This makes the headlights look more realistic than in car color.
The rising sun
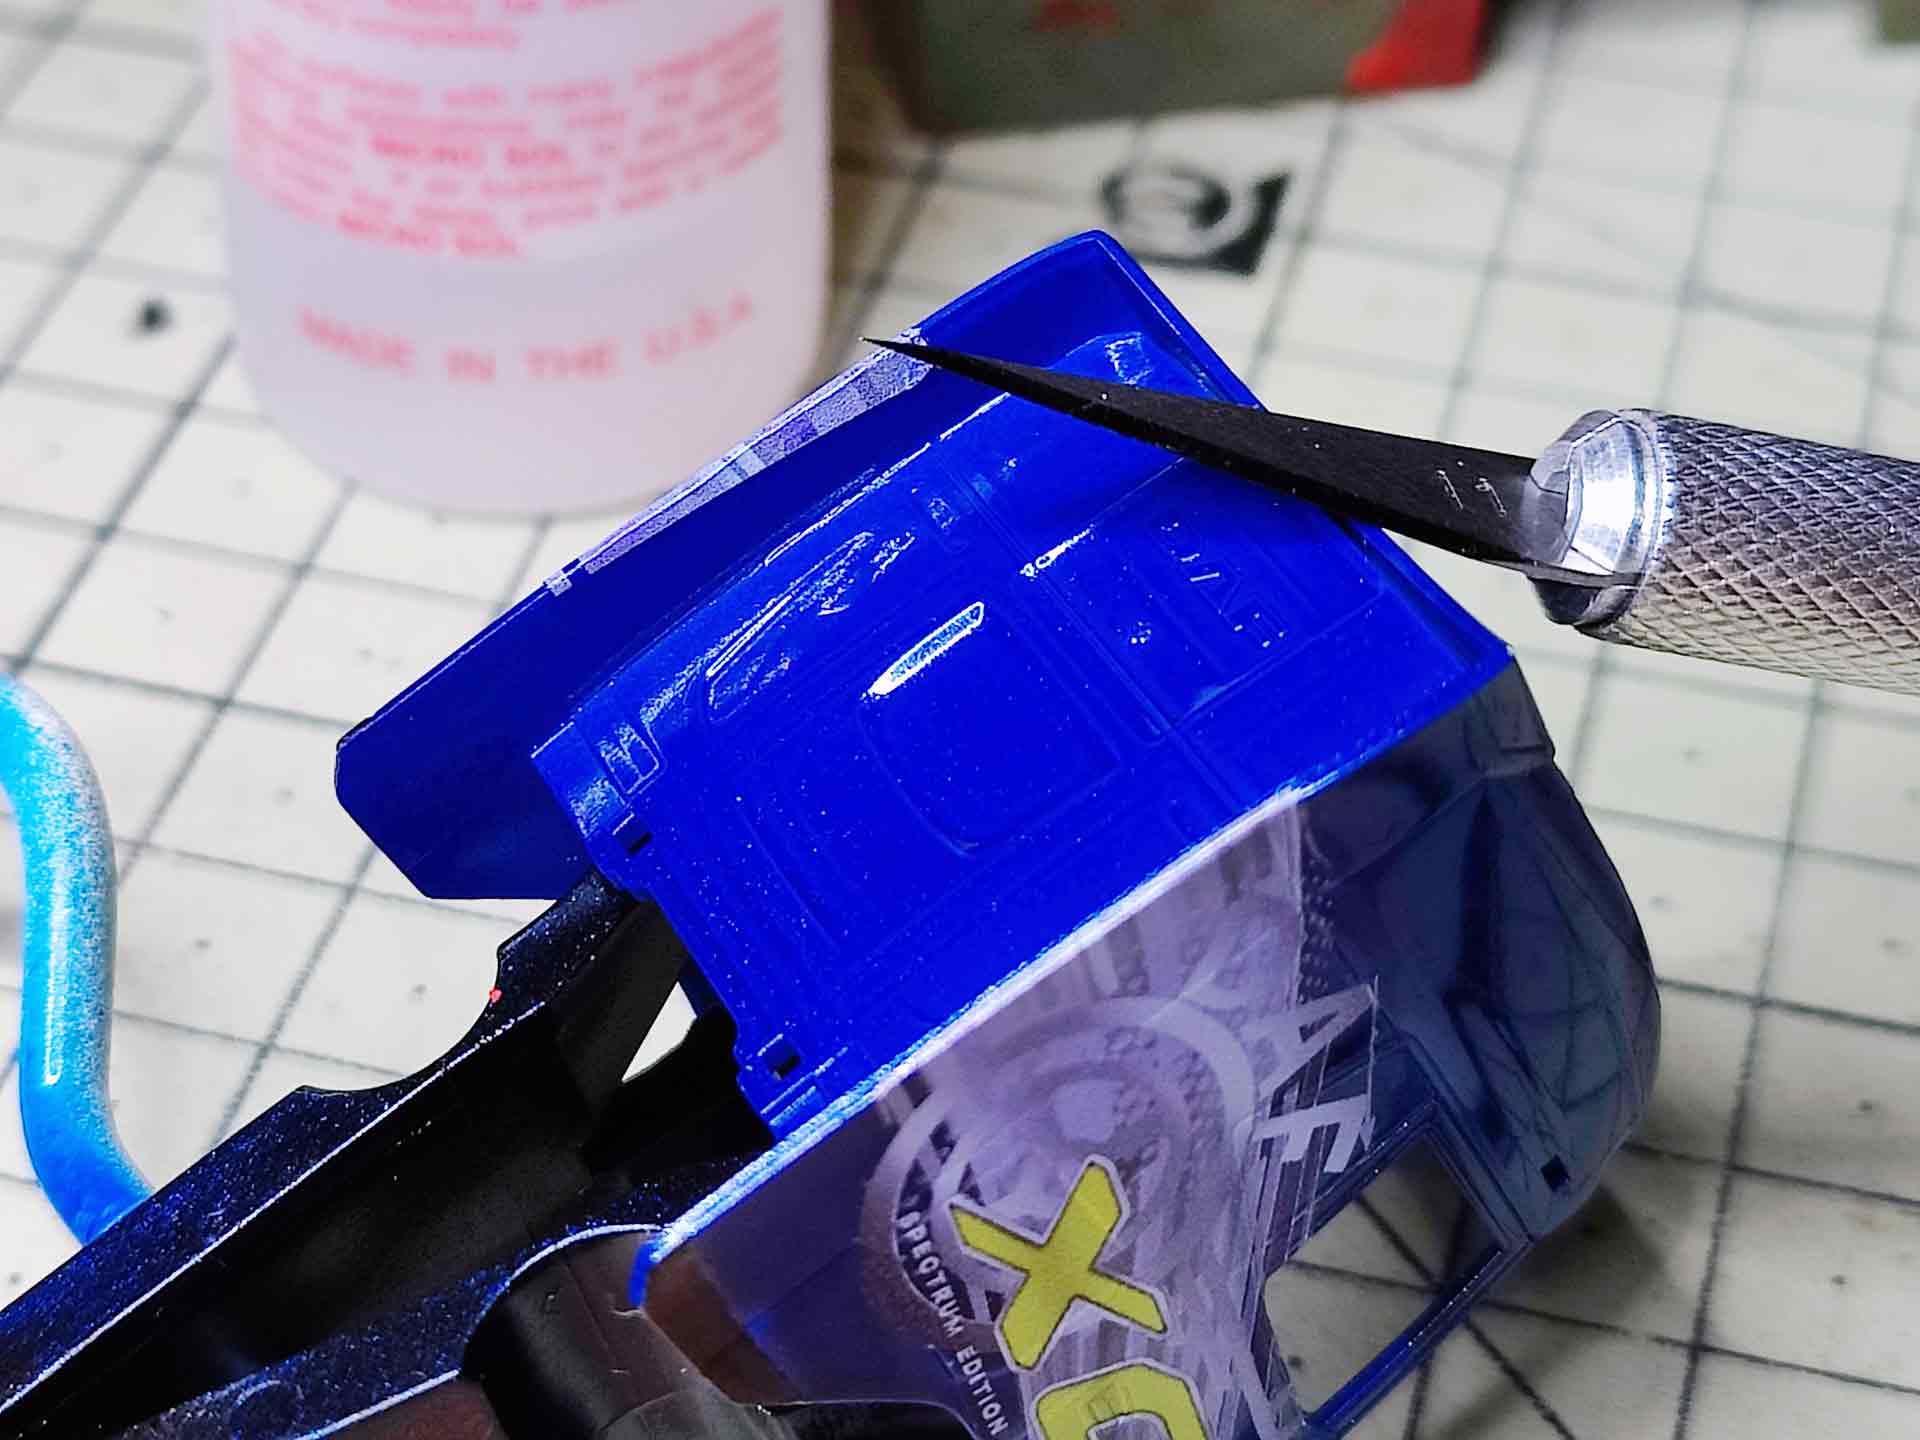
The first yellow XG+ sticker confirmed this decision. As complementary colors, blue and yellow are unbeatable and so the other decals were swiftly applied to all components. The side windows needed to be freed of any protruding film. These cuts were made with a sharp scalpel after the film had thoroughly dried.
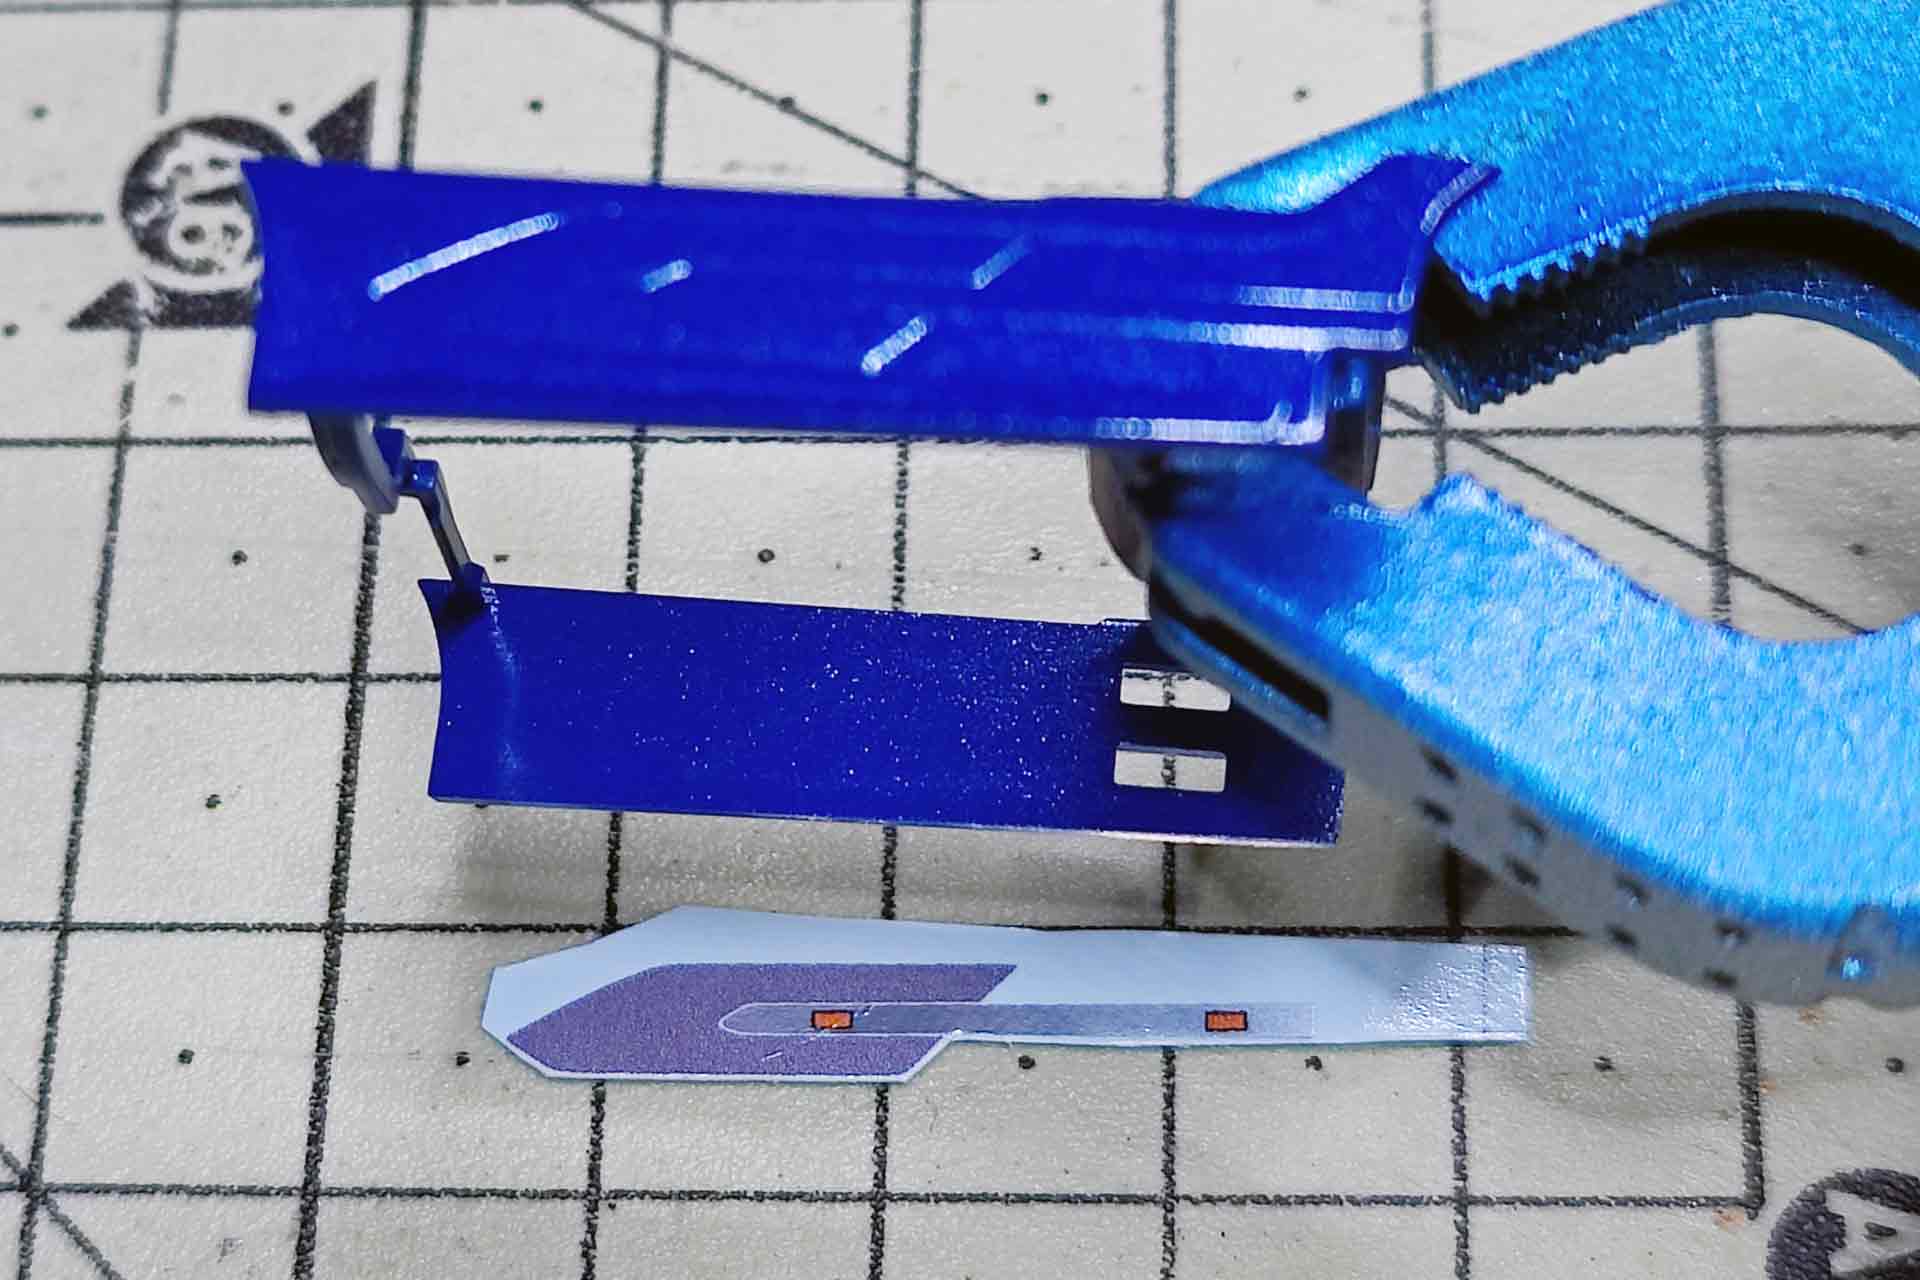
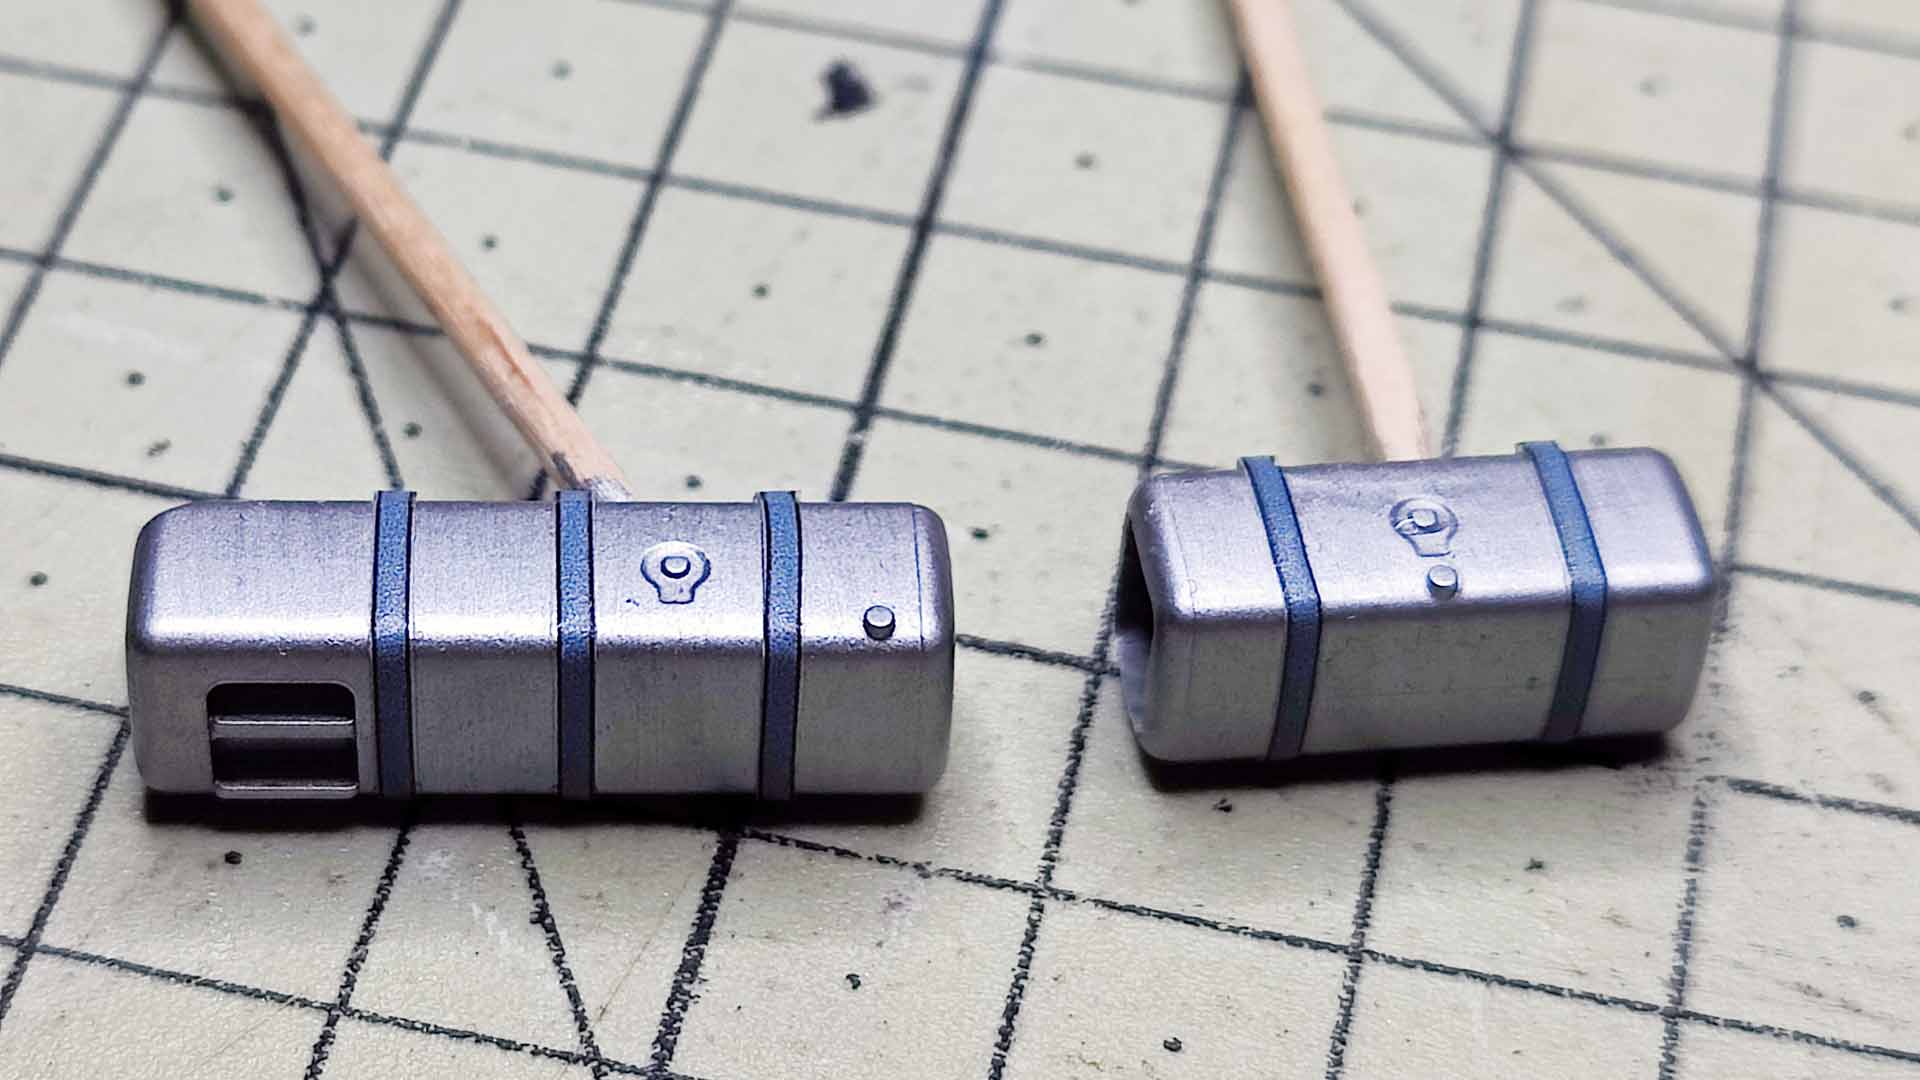
The side chrome strips, roof hatch, and the black A-pillars came next, small defects being dabbed out with paint. The design sheet contains suitable motifs for the side trim, which also highlight the position lights. Further decals for the tank bands came thanks to truckdecals.de and provide additional accents.
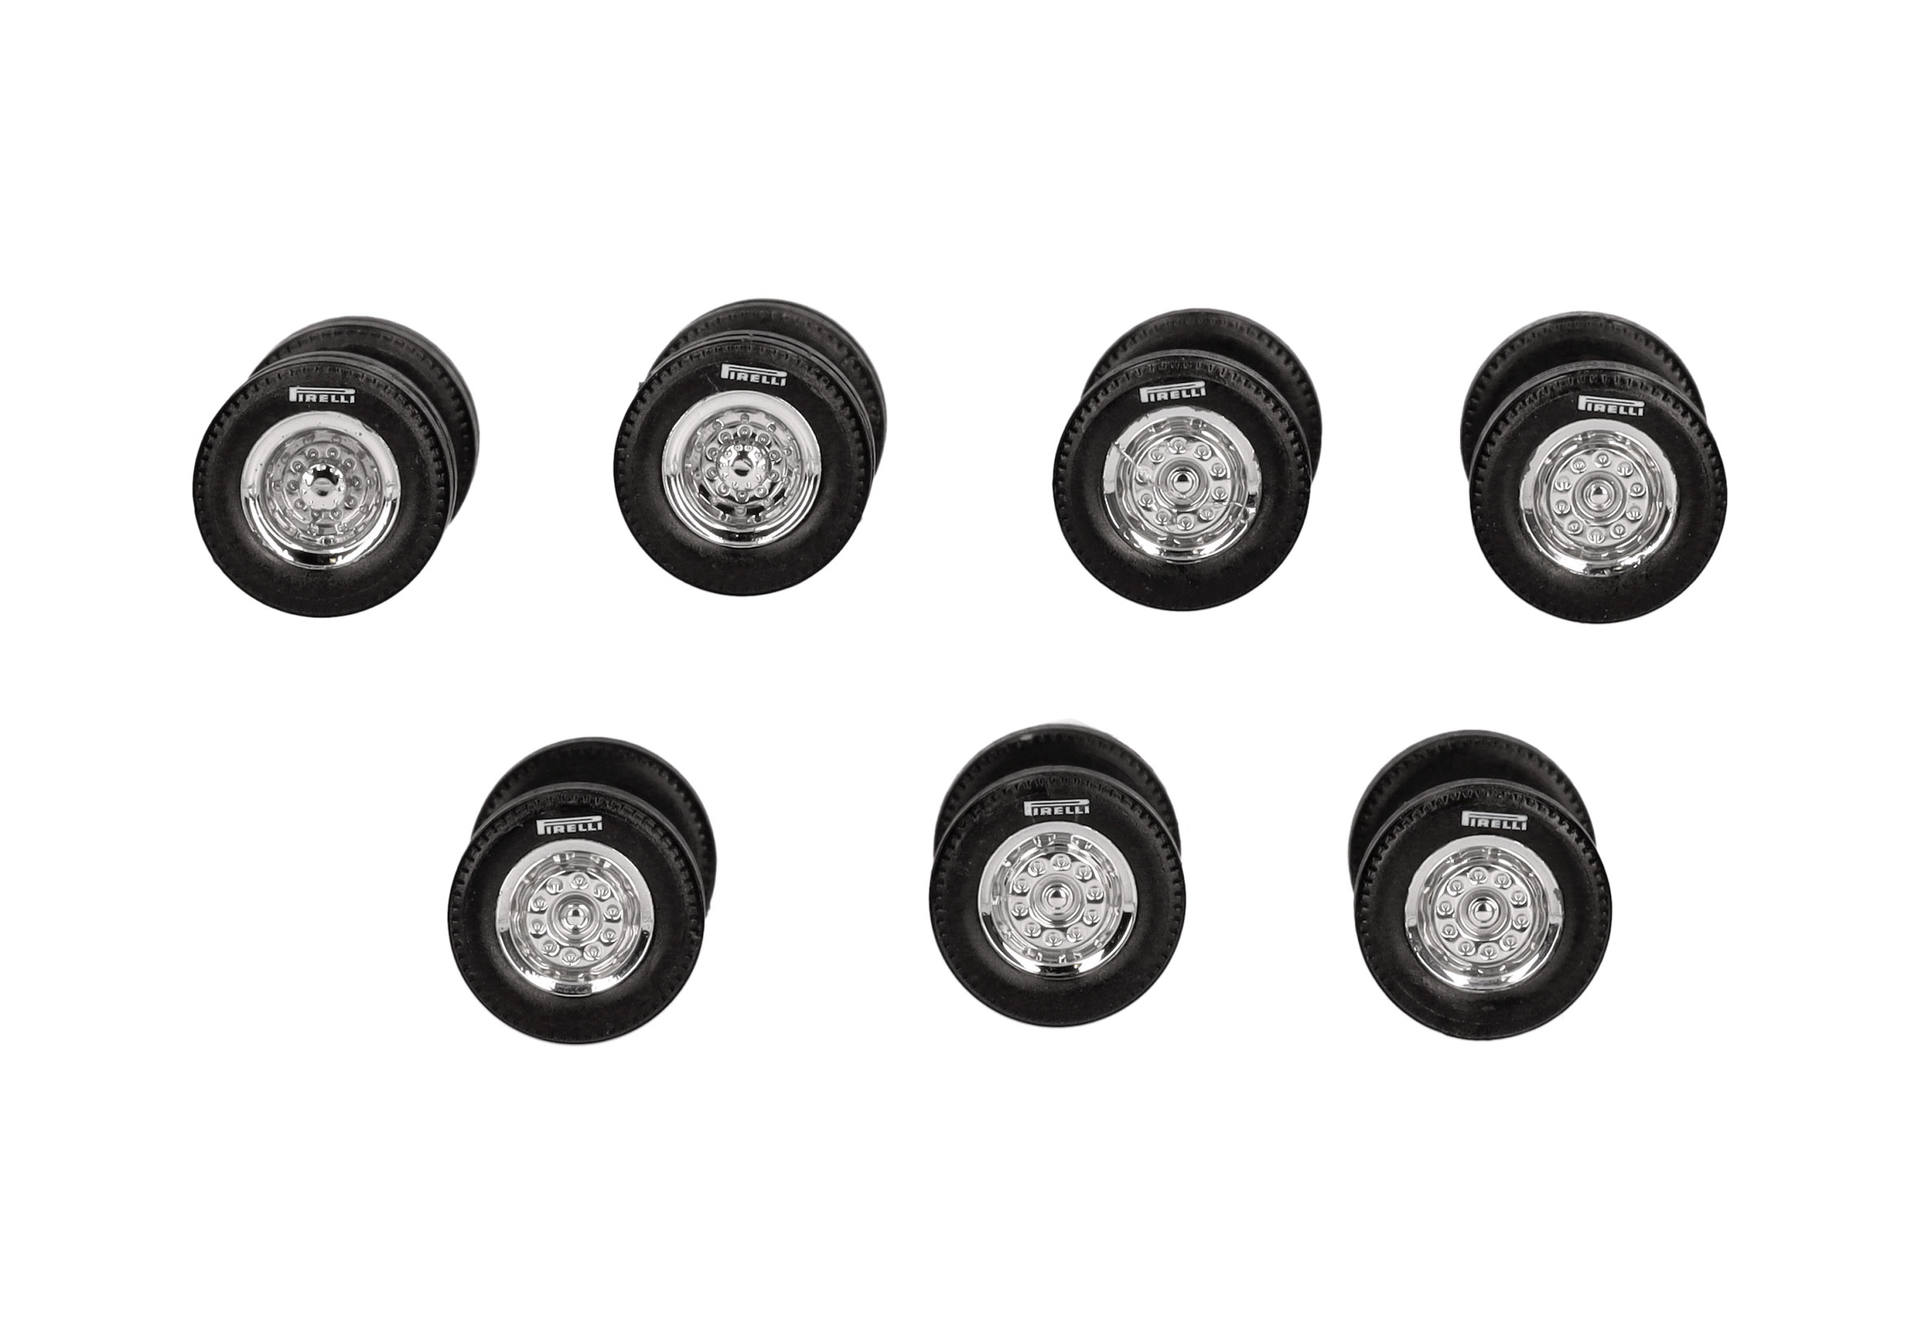
As mentioned, there is no limit to detailing, and anything goes. For me, at the time, it was enough, although I subsequently replaced the black tires with labeled Pirelli tires. Another little splash of color.
Text and photos: Frank Hadel
Materials deployed:
Decalprint.de: DAF XG+ decor M-216 (blue), M-220 (yellow), universal set „curtain blue“ www.decalprint.de
Herpa: DAF XG+, wheel set chrome „PIRELLI“ www.herpa.de
LUX Modellbau: DLE90 (print and paint remover) www.lux-modellbau.de
Microscale: MicroSol www.microscale.com
Revell: various aqua colors www.revell.de
Tamiya: Mica Blue Metallic, Tamiya clear varnish glossy in bottle or spray can www.tamiya.de www.tamiya.de
Truckdecals.de: Tank straps www.truckdecals.de
Glass cleaner
Tools:
Small bowl with warm water
Brush cup with water, brush
Fine paper scissors, scalpels, tweezers, cotton buds

